If your ActivityBot 360° belongs to a school, it may have been put together already.


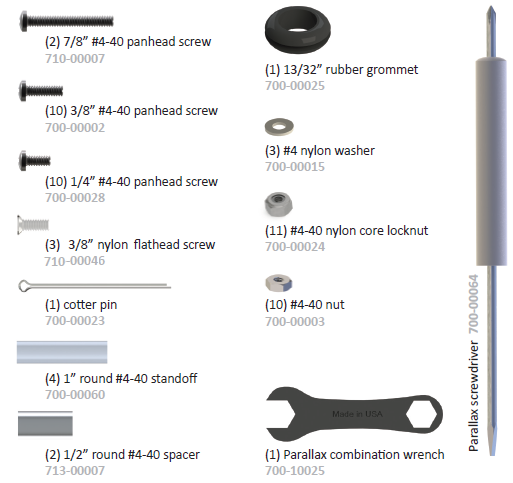
Replacement Parts: Most of the pieces in the kit are available for purchase individually online from www.parallax.com [2]. Or, email sales@parallax.com or call 888-512-1024.
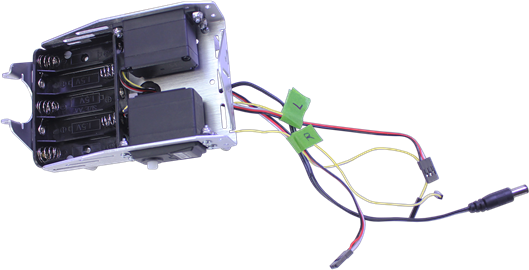
(2) Feedback 360 servos (#900-00360)


If your ActivityBot servos do NOT have a yellow wire, and are labeled "High Speed Continuous Rotation Servos" you have an older kit. You will need to use the Legacy Version [3] of this tutorial instead.

You will have parts left over after assembly.
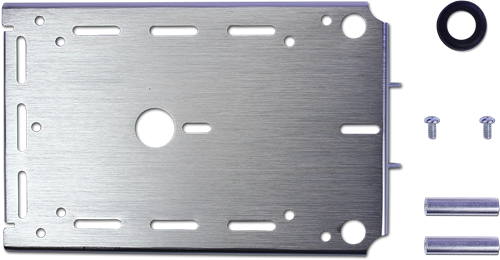
Parts needed for this step:
Parts needed for this step:

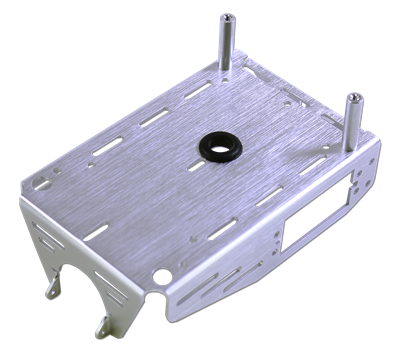
All done:

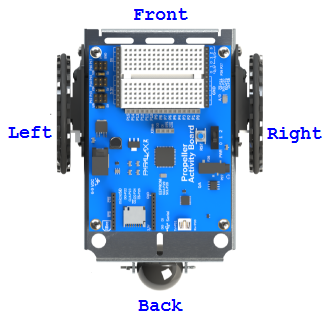
In the next few steps you will mount the right and left servos on the chassis. But which side is right and which side is left?
Parts needed for this step:

You can use regular nuts or lock-nuts to mount the servos. Lock-nuts have white Nylon inserts that make a tight grip on screws, so they don't loosen easily with vibration. But, they take a little more force to install.
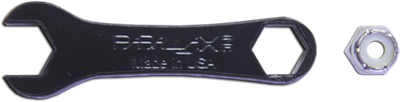
If you want to use the lock-nuts, press the closed end of the little black wrench over each lock-nut to hold it in place while attaching the screws.


Parts needed for this step:

Parts needed for this step:


Parts needed for this step:
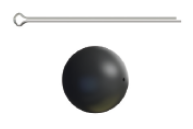
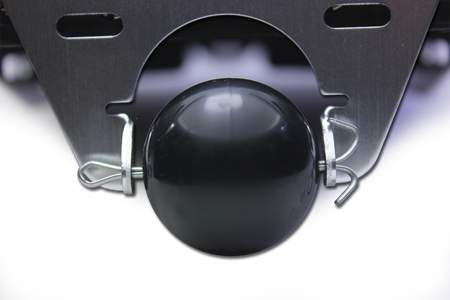
CAUTION - the ends of the cotter pin may be sharp! If you have needle-nose pliers, you can bend the cotter pin ends into a circle to tuck away the points. But be aware that this makes the cotter pin more difficult to remove in the future if you ever want to do that.
Parts needed for this step:

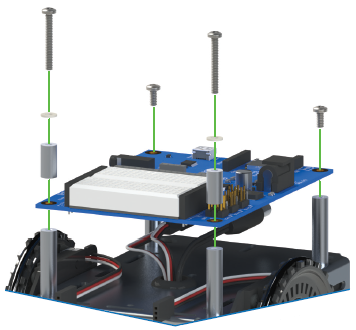
When you finish, you can turn your robot chassis right-side up.

Parts needed for this step:

Links
[1] https://learn.parallax.com/node/1965
[2] http://www.parallax.com
[3] https://learn.parallax.com/node/1607