If you like Halloween and you like tacos, then you’ve come to the right place my friends! In this tutorial I do a “show and tell” of how I made a crawling piñata taco. Since the parts you end up using may vary (depending on whether you have access to a laser cutter) this tutorial is more of a guide rather than a step by step instruction manual. Let's get started!
CAUTION: Always wear safety glasses when working with drills, hot glue, laser cutters or other tools!
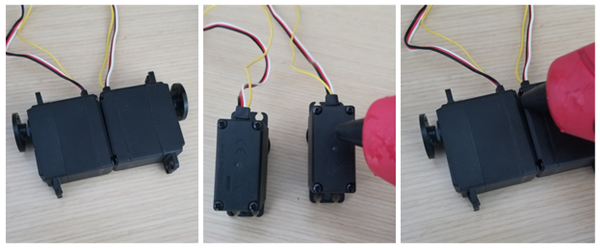
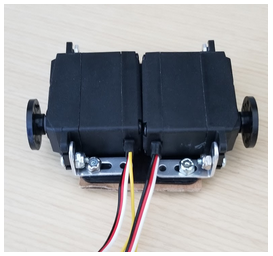
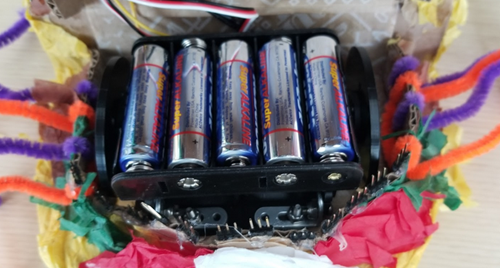
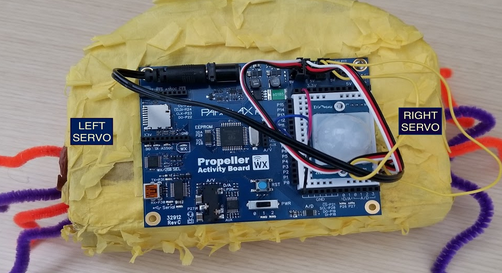
This makes up the locomotion, and it also makes the platform that holds the battery case.
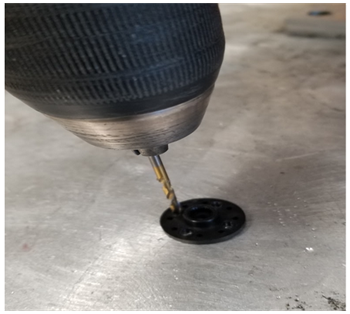
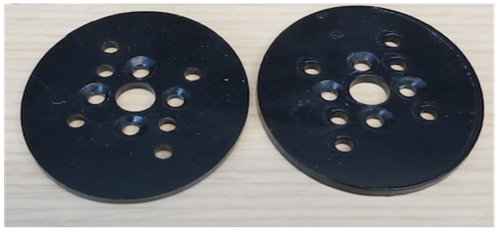
For this part of the project I laser cut custom parts.
The files for laser cutting a top and bottom plate are available below, however if you don’t have access to a laser cutter it is ok to simply glue the servo locomotion platform to the piñata’s cardboard (The laser cut parts are optional). I didn’t get a chance to document this part of the build as I was building it, but the pictures below show a mock up of how the servos are mounted inside the piñata taco.
Piñata Project Laser Cutter Parts Download (.DXF) [9]
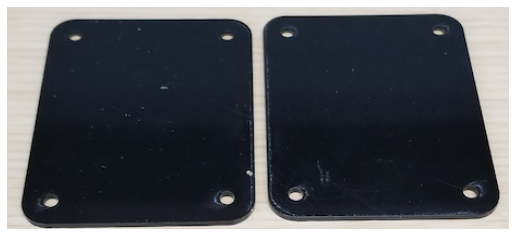
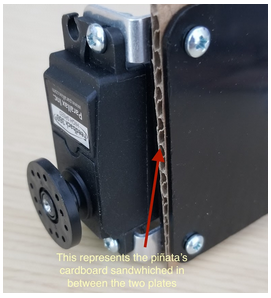
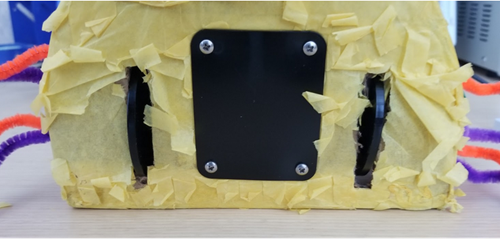
NOTE: The cardboard shown in the images below is meant to represent the piñata’s cardboard bottom sandwiched in between the top and bottom plate. For clarity in showing the build, I have assembled the parts in this step outside of the piñata body so that you can see the placement of the laser cut components. The first image shows only a single servo so you better see the screw placement, though you will already have glued the servos together in your project.
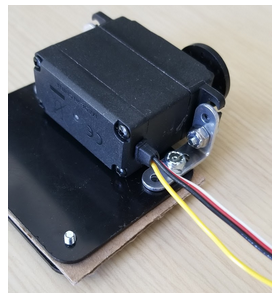
Here is what the locomotion platform will look like after adding the wheels. I used 8 - #4-40 flat head screws to mount the wheels. Remember that the cardboard shown in this picture is only a visual representation of how the top and bottom plate install over and under the piñata’s cardboard bottom.
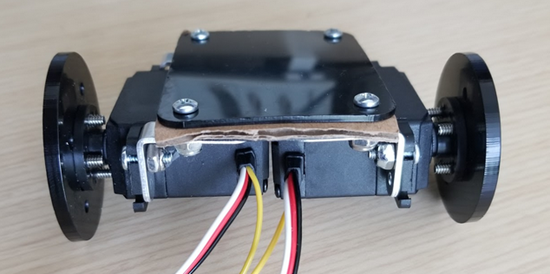
Note: If you are not using custom laser-cut wheels, the finished project will not display the same rocking motion as shown in the video. This effect was deliberately designed by making the wheels slightly ovoid instead of round.
The slots are about a ¼” wide and about 2” long however, they don’t have to be exact. The most important part is to cut slots wide and long enough to let your wheels to move freely. The picture below illustrates how the wheels of the servos are supposed to look once the servos are fully installed onto the piñata. NOTE: If you didn’t laser cut custom parts it’s ok to simply glue the servo platform onto the piñata’s cardboard.
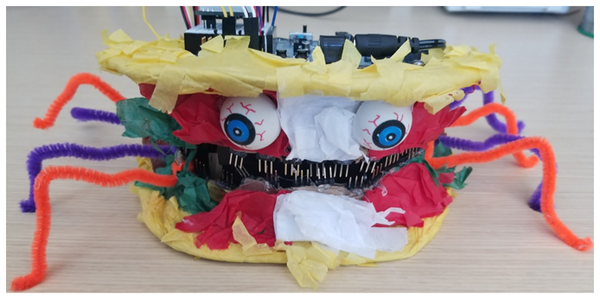
To give the piñata taco some character and personality, I gave it state-of-the-art facial reconstruction by gluing on legs, teeth, and eyeballs. You can be as creative here as you want!
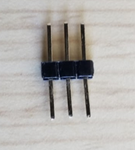
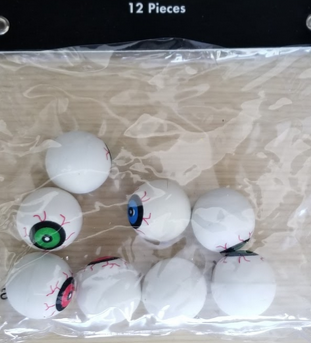
In my case I used as many 3-pin headers as I could fit in the mouth, and two eyes from a package of inexpensive spooky plastic eyeballs. I used pipe cleaners for the legs and I decided to shape them to resemble ones you might see on a spider.
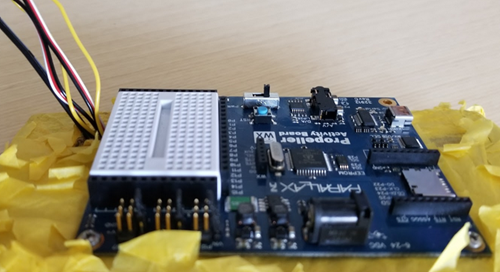
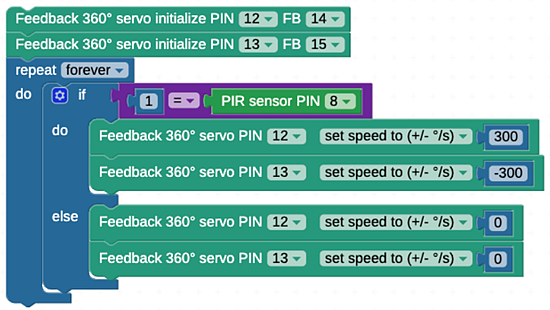
This project is coded entirely with BlocklyProp Solo [10], a free, online visual programming tool
If you are new to BlocklyProp programm, see the Getting Started with BlocklyProp Solo [11] tutorial.
Taco Piñata BlocklyProp Code Blocks [12]

Links
[1] https://www.parallax.com/product/900-00360
[2] https://www.parallax.com/product/753-00007
[3] https://www.parallax.com/product/451-04001
[4] https://www.parallax.com/product/451-00303
[5] https://www.parallax.com/product/720-00011
[6] https://www.parallax.com/product/555-28027
[7] https://www.parallax.com/product/32912
[8] https://www.parallax.com/product/28114
[9] https://learn.parallax.com/sites/default/files/content/AB-Blockly/Projects/Taco-Pinata/Taco-Pinata-Project-DXF-File.zip
[10] https://solo.parallax.com/
[11] https://learn.parallax.com/tutorials/language/blocklyprop/getting-started-blocklyprop-solo
[12] https://learn.parallax.com/sites/default/files/content/AB-Blockly/Projects/Taco-Pinata/TacoPinataCode.svg