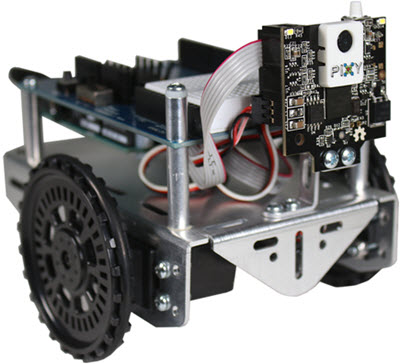
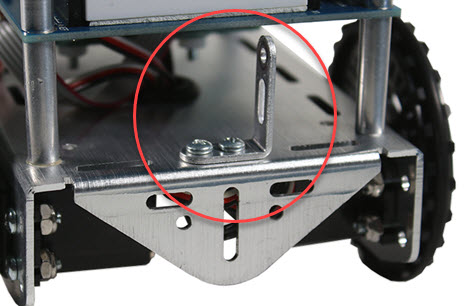
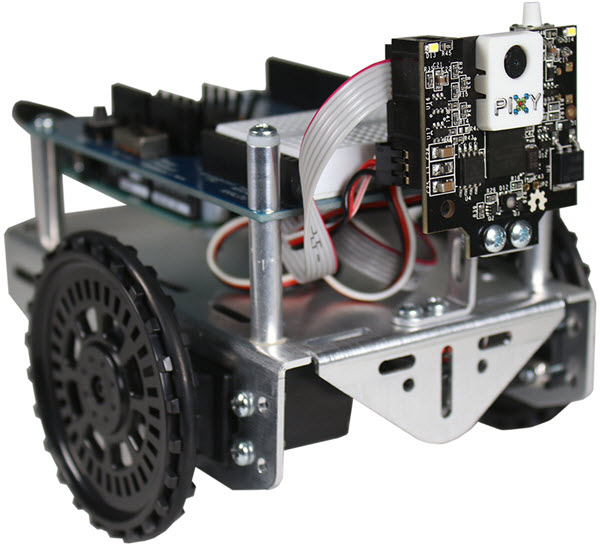
This short tutorial will show you how to mount a Pixy2 CMUcam to a Shield-Bot robot with Arduino Uno.
You will need:
Complete this tutorial first:
Your Shield-Bot will be equipped to explore the Arduino resources on the Pixy2 wiki.
The Pixy2 CMUcam w/ Cable + Mounting Hardware kit comes with the following parts. Make sure you have everything:
(1) - Pixy2 Camera with ribbon cable (in camera box)
(1) - Screw, #4-40 x 3/8" panhead (#700-00002)
(4) - Screw, #4-40 x 1/4", panhead (#700-00028)
(4) - Nut, #4-40 (#700-00003)
(1) - Locknut, #4-40, 1/4" (#700-00024)
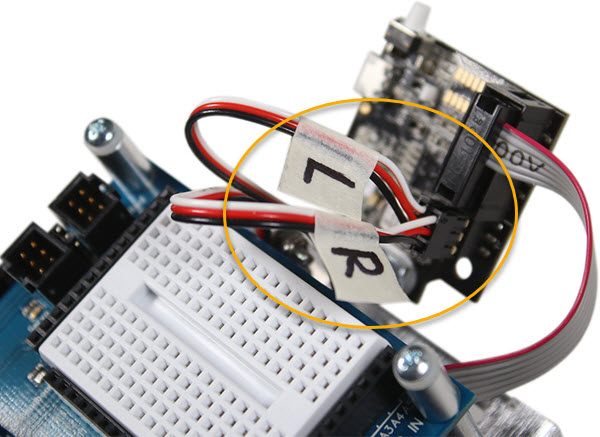
(10 wires) - Jumper wires, MF, 100 mm (#800-00063)

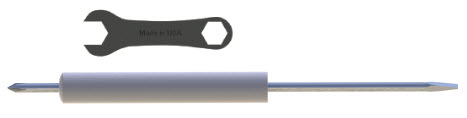
From your Shield-Bot kit, you will also need a Parallax screwdriver (#700-00064) or other #1 Philips screwdriver, and the Parallax Combination Wrench (#713-00007) or other #4 hex wrench.
The best place for Pixy2 quick-start guides and Arduino-friendly instructions, visit the Pixy2 documentation index at Pixycam.com:

Links
[1] https://www.parallax.com/product/32335
[2] https://www.parallax.com/product/30028
[3] https://learn.parallax.com/tutorials/robot/shield-bot/robotics-board-education-shield-arduino
[4] https://docs.pixycam.com/wiki/doku.php?id=wiki:v2:start