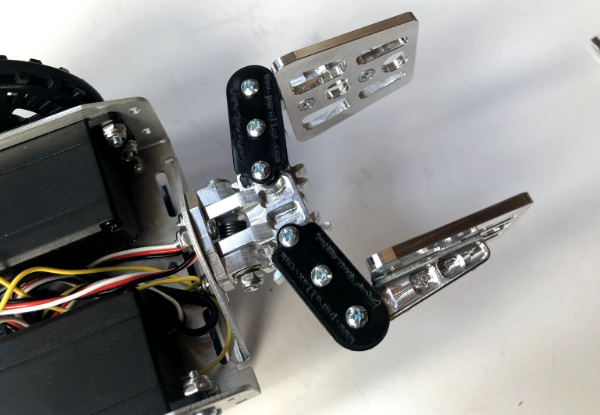
Put the safety glasses on immediately! The Gripper has small parts, including a torsion spring which may be inadvertently released during assembly. An Arm connects each Finger to the Base, from the top side. Each Arm has three posts pointing downward: one on the thin end for a Finger, one on the geared end for the Base, and one in the center for the Idler Gear that slips between the Finger and Base gears. A Gear Plate on the bottom holds the pieces together.
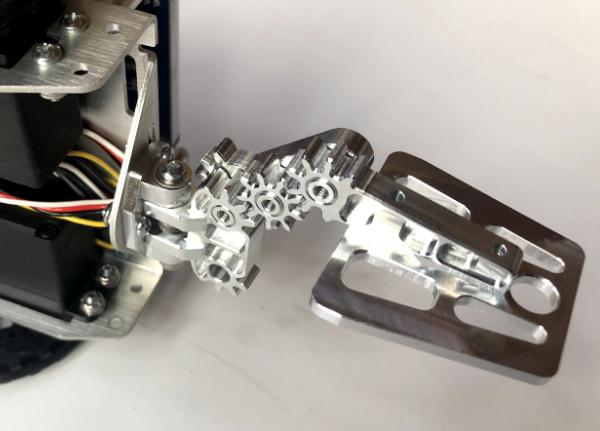
- Turn your robot on its side. Place the geared end of the Arm on the Base, sliding the post into one hole on the Base.
- Put a Finger on the post at the other end of the Arm, so that the paddle faces inward.
- Place an Idler Gear on the middle post of the Arm, between the Base and Finger gears.
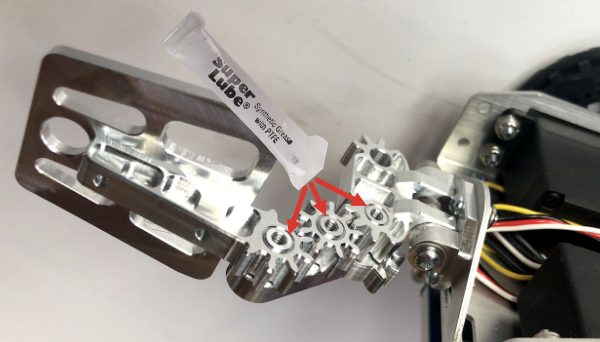
- Snip the end off of your Super Lube PTFE grease and place a very small amounts of it on the seam between each post and gear, where the metal pieces move together. (Then save the grease, you will need it again in a later step.)
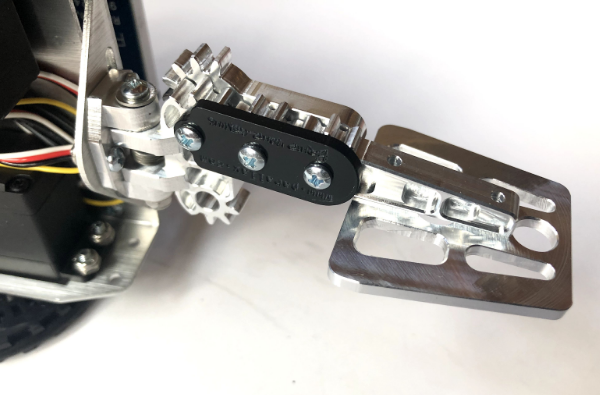
- Using (3) 4-40 ¼” panhead screws, attach the black, laser-cut Gear Plate to the bottom of the Arm posts as shown.
- Tighten the screws against the Gear Plate; this will not cause the gears to bind. The Gear Plate will help to minimize the potential for catching your fingers when picking up a robot with a moving Gripper mounted on the front.
- Repeat the previous step for the other side. The full assembly looks like this, from the bottom.