- One of the first things to do is to cut the jaw from the skull, if possible.
It is fairly easy with the printed skull but may be harder with a purchased skull. If it's not possible, it will still make a nice display, even without a moveable jaw.

- Attach the servo to the bottom of platform with screws and nuts trying to get the servo horn as near the center of the platform underside as you can.
- If you use the 3D file there are servo holders built in that already locate the servo in the correct position.
Do not attach the jaw yet.
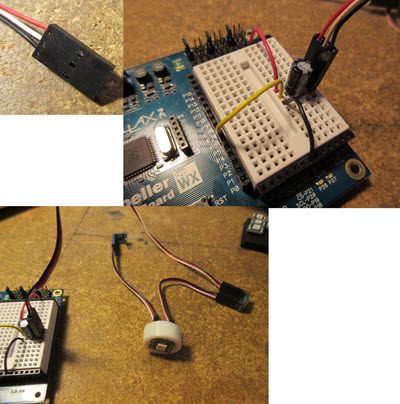
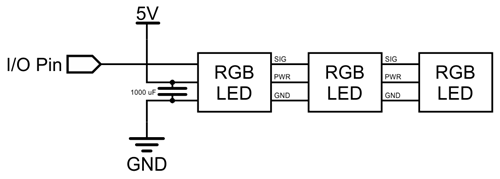
- Wire the RGB LEDs by using servo wires to go from SI side of circuit board to SO side.
- Use three LEDs and leave the SO side of last one open.
- On the Propeller ABWX breadboard install a 1000uf capacitor in between VCC and GND of servo wire at beginning of LED chain.
The collage picture also illustrates putting an LED into eye holder. I did not glue LEDs into the sockets, so they could be removed if need be.
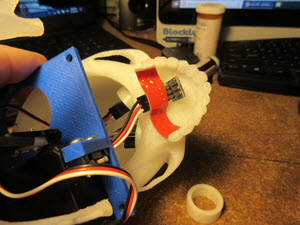
- Install the round spacers with glue behind the eye sockets. CA glue works well on PLA.
If you have wired the LEDs ahead of this step, you should be able to turn them on to locate them precisely. There is quick-start code for the RGB LEDs in the BlocklyProp for Propeller Boards Reference section.
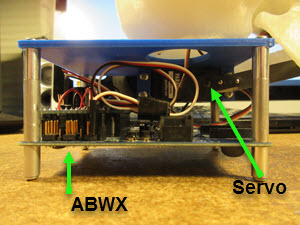
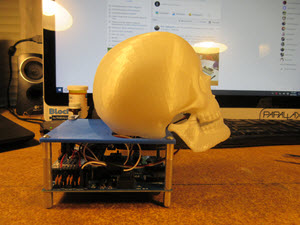
- Assemble the stand with the servo being under the platform you will be mounting the jaw on. Make sure to have the Propeller Activity Board on the back side of your assembly (facing the platform the skull sits on) to give the jaw room to move.
- Then zero your servo using BlocklyProp. Refer to the first image on this page for placement of the jaw lever. Again, there is a lever in the 3D printing files, but you may choose to make your own. I used screws and nuts to attach it to servo horn and CA glue to attach it to jaw.
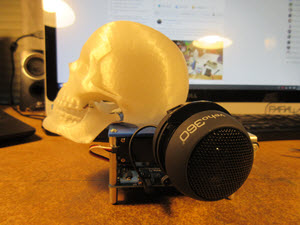
- After jaw is on carefully place skull on top of platform, moving it around until it lines up with jaw.

This is how mine ended up looking.
- Install the speaker on the side of the platform using the mounting hardware, and plug it into the Propeller ABWX's audio jack.
You should have loaded your SD card with sound already as was mentioned on the list on the front page. Do not forget to turn the speaker on when activating your display!
This a copy of my Blocklyprop for this project. Please feel free to improve it!
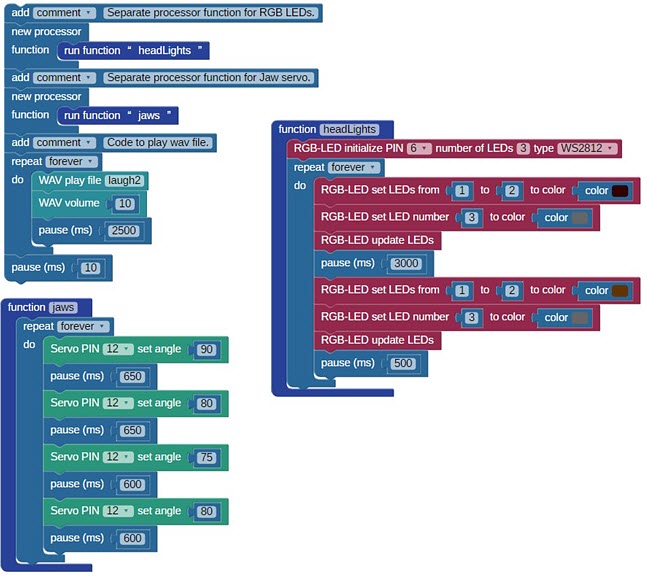
Happy Halloween and I hope you enjoy this project.