This particular doll has actually been around Parallax for quite some time, serving as a drone parachutist where it lost the left arm and as a star of the Lets Robot series where guests drove flame-throwing robots over the internet, burning the doll’s pants. These two events were unfortunate, but they added necessary character to the doll for this most recent modification.
Choose a doll that provides some ease of hacking. Larger dolls have more space for mounting servos, placing NeoPixel rings and running wires to connect the Propeller Activity Board. This particular doll has a soft, plush body with plastic arms and head. Mounting anything in a rigid way is difficult with a soft system, so the body was strengthened with foam core board and hot glue. Some of the steps I took are shown below.
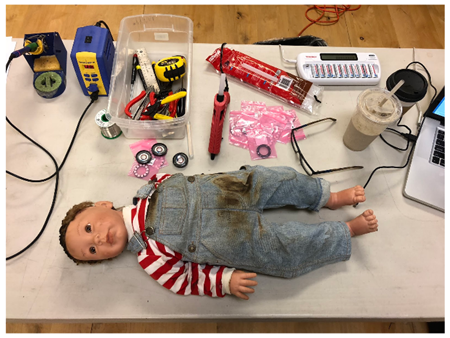
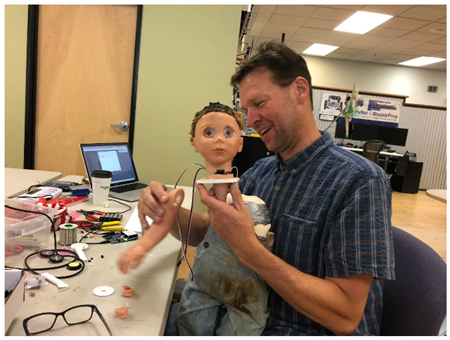
Lay out your parts and try to envision how you’re going to attach motors, install lights, and what you might need to do to mount it upright. Don’t bother making drawings - just get to work and make it a fun project!
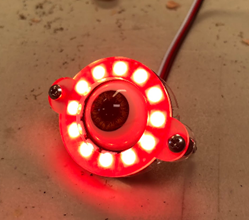
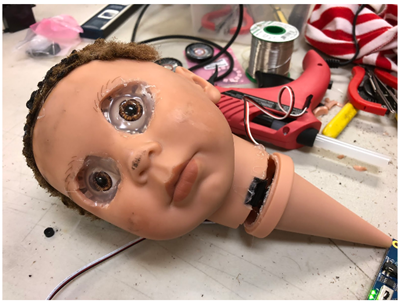
I removed the eyes with the intent of illuminating them with the two NeoPixel LED rings.

I attached the NeoPixels to the eyeballs and tested them with BlocklyProp. While I used a laser cutter to create the acrylic mounts, it would have been just as effective to simply hot glue the NeoPixels to the eyes and glue the assembly back into the doll’s head.
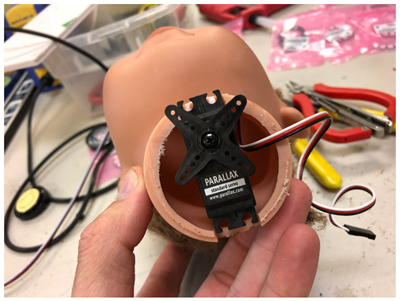
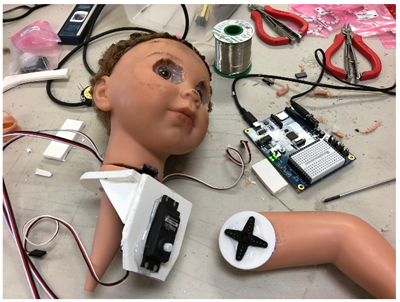
I mounted a standard servo to the neck by cutting a notch, hot gluing it in place, and gluing the servo horn to the neck base.
Glued the eyes in place and ran the wires down the neck. This is the fully assembled doll head, ready for attachment back to the body.
The challenge I didn’t plan for was mounting the parts back to the soft body.
I created a mount which would hold the head and arm together and could be glued into the body. Foamcore board is a very effective tool for these quick builds. Simply lay out your parts, cut the board with a box knife, and glue it together.
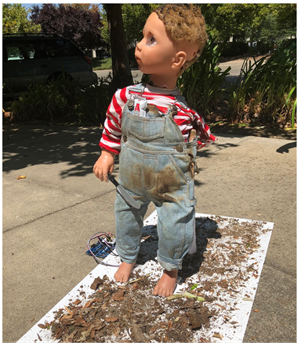
I mounted the assembled doll to a foam core board. Though not visible in this picture, there’s an angle brace behind the doll to hold him securely upright. The base was covered with white acrylic glue and covered with dirt.