Mounting the Right Servo in the Chassis
For all ActivityBot robots, but read carefully. Directions are slighty different for robots with external encoders.
Parts for this step:
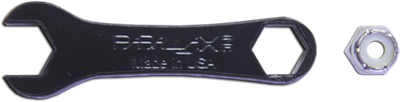
- (1) Parallax mini combo wrench (#700-10025)
- (1) Parallax screwdriver (#700-00004)
- (2) #4-40 Nylon core lock-nuts (#700-00024)
- (2) 3/8-inch pan-head steel screws (#700-00028
- (1) servo with horn removed; HIgh Speed (#900-00025) or Feedback 360° (#900-00360)
- Prepared chassis
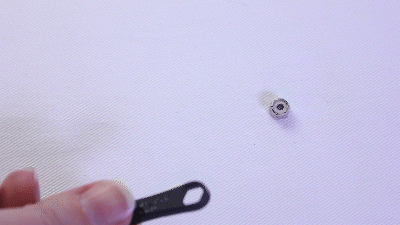
Lock-nuts have white Nylon inserts that make a tight grip on screws so they don't loosen easily with vibration. But, they take a little more force to install.
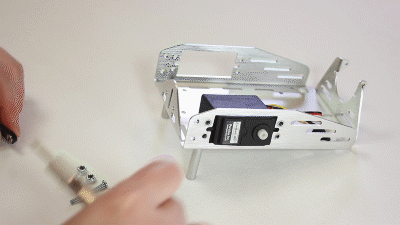
As you work, press the closed end of the little black wrench over each lock-nut to hold it in place while attaching the screws.
- Position the right servo inside its chassis mounting hole so the spline is towards the middle of the robot and the servo cord is next to the grommet.

- Find the two servo mounting holes that are closer to the outer edge of the chassis.
- Using two 3/8 inch metal pan-head screws and two lock-nuts, attach the servo to the outer-edge mounting holes.
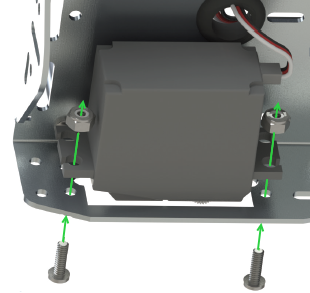
- Tighten securely.
STOP! READ!
- If your ActivityBot Robot Kit has external encoders, go straight to Step 6 - Mount Left Servo.
- If your ActivityBot Robot has Feedback 360° servos, keep going here.
Parts needed to complete:
- (2) #4-40 Nylon core lock-nuts (#700-00024)
- (2) 3/8-inch pan-head steel screws (#700-00028
- Use two more screws and lock-nuts to finish mounting the right servo — four screws in all — before going to Step 6.