- Remove the four mounting screws that attach the Board of Education Shield to its standoffs.
- Remove the Arduino Uno board from the Board of Education Shield.
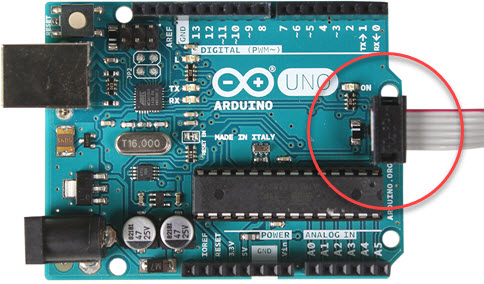
- Connect the Pixy2 camera's ribbon cable to the Arduino Uno, with the wires leading away from the board, as pictured.
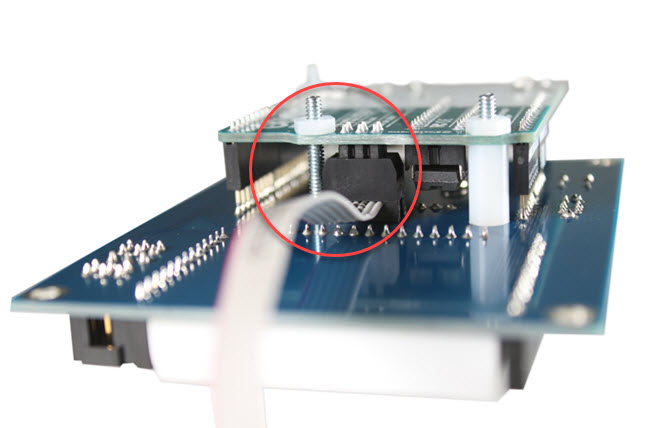
- Re-attach the Arduino Uno to the bottom of the Board of Education Shield, leaving off the spacer closest to the ribbon cable, as shown.
- Temporarily label the Shield-Bot left and right servo cables with the masking tape and pen.
- Re-mount the Board of Education Shield onto the Shield-Bot standoffs, but leave the servo cables disconnected.
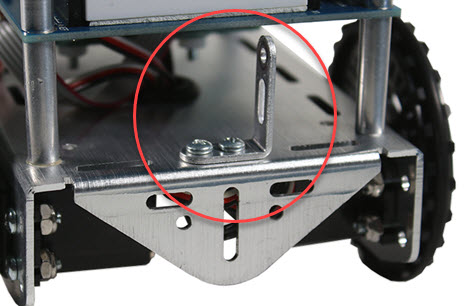
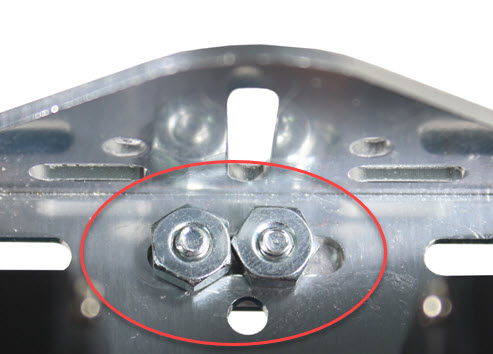
- Connect an 'L' bracket into the front of the Shield-Bot chassis, using two 1/4" screws and two nuts, as shown. Note that it is slightly off center. This will allow the Pixy2 camera to be centered, after accounting for the thickness of the 'L' brackets.