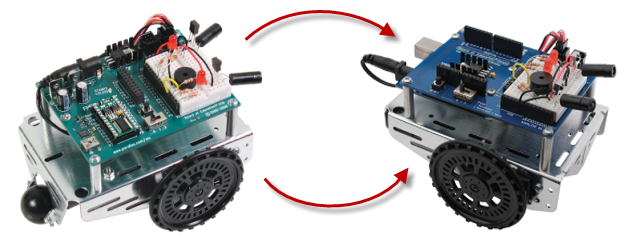
Turn your BASIC Stamp-based Boe-Bot into an Arduino Uno-based Shield-Bot with the Boe-Bot to Shield-Bot Retrofit Kit. Then, you are ready for "Robotics with the BOE Shield" with breadboard-based DIY sensor circuits, extra Shield-Bot projects and Robot Competition Ideas, and other Arduino-friendly Parallax sensors and accessories.
- Boe-Bot to Shield-Bot Retrofit Kit with Arduino Uno
- Boe-Bot to Shield-Bot Retrofit Kit only (Arduino Uno
- USB A to B Programming Cable (not included with the above options)
Note: The images in this section will show robots with the newer style of small robot wheels. If your Boe-Bot uses the older style of small robot wheel (with a rubber band tire and fewer spokes), it is fine to continue using them with the Shield Robot.
If you would like to upgrade your robot's older wheels to the newer ones, you will need to purchase (2) Small Robot Wheel and Tire (#28114) per robot you are retrofitting. Please be aware that the Digital Encoders for the Boe-Bot (#28107) will not work with the newer wheel design.
Retrofit Instructions
Board of Education Shield Set-Up

- Remove the Board of Education from the Boe-Bot, and save the four 1/4" screws. (Set the the BASIC Stamp Board of Education aside for other fun uses.)
- Follow the directions in Chapter 2, Activity 1 of the Shield-Bot tutorial, except the last 3 check-marks.
- Read the choices below, and decide which way you want to go next.
- If you want to follow the rest of Chapter 2 and 3 (working with and centering the servos first, then re-building the robot) remove the 1" standoffs, 4-AA battery pack, tail wheel, and servos now, and then continue on with the text as written.
- If you want to simply complete the retrofit to have a fully-built Shield-Bot, proceed to the next section below.
Assembing the Shield-Bot
- Using pliers, straighten the cotter pin holding the tail wheel ball in place, and remove the tail wheel, saving both pin and wheel.
If you can't straighten the cotter pin enough to pull it out, you can carefully cut it with diagonal cutters. If your kit does not include a replacement, you can get cotter pins here. A straightened paper clip also works.)
- Remove the batteries from the battery pack.
- Remove the flat-head screws and nuts holding the battery pack to the chassis—save the screws!
- Remove the two rear standoffs, closest to the tail wheel.
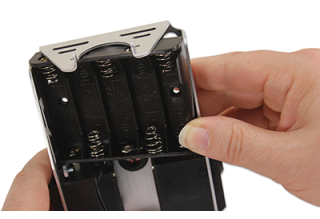
- Insert the 5-cell battery pack into the chassis. Inserting one side, and then the other is the easiest method (see below).
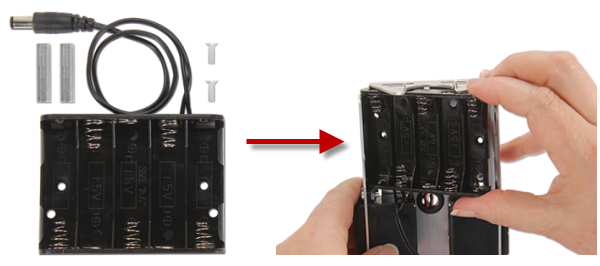
- You may need to apply a small amount of force to seat it flush with the chassis. It may be a tight fit but it should snap into place.
- Thread each nylon flat-head screw through the inside of the battery pack holes, and secure it in place with a 1" standoff.

- Replace the tail wheel with a cotter pin (or paperclip!).

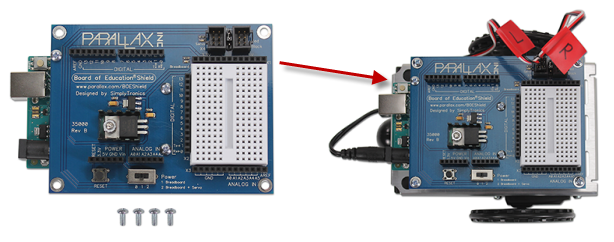
- Place the assembled BOE Shield + Arduino Uno on top of the standoffs, with the Uno protruding on the same end as the tail wheel, and secure it in place with the four reserved 1/4" screws.
- Replace the batteries - you will need one more!
Shield-Bot assembly is now complete!
Fun Stuff to Do with a Shield-Bot
- Learn robotics with the tutorial Robotics with the Board of Education Shield for Arduino.
- Compete - explore our Robot Competition Ideas here.
- Try some Shield-Bot projects with robot add-ons and accessories.
- Explore other Arduino-Friendly Parallax sensors and accessories supported by example code.