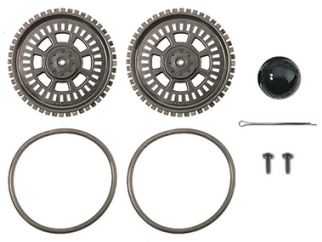
Parts List
(1) 1/16″ cotter pin
(1) tail wheel ball
(2) O-ring tires
(2) plastic machined wheels
(2) screws saved when removing the servo horns
Instructions
The robot’s tail wheel is merely a plastic ball with a hole through the center. A cotter pin holds it to the chassis and functions as an axle for the wheel.

- Line up the hole in the tail wheel with the holes in the tail portion of the chassis.
- Run the cotter pin through all three holes (chassis left, tail wheel, chassis right).
- Bend the ends of the cotter pin apart so that it can’t slide back out of the hole.
- Press each plastic wheel onto a servo output shaft, making sure the shaft lines up with, and sinks into, the wheel’s recess, then secure with the saved servo screws.
- Stretch each rubber band tire and seat it on the outer edge of each wheel.
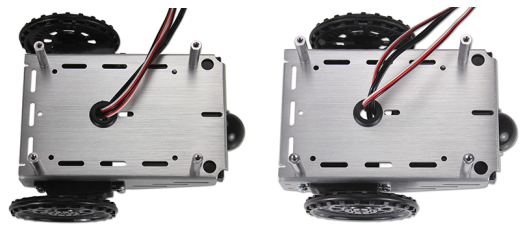
When you are done, your completed chassis will look like one of the pictures below.
Left: "Outside-forward" servos
Right: "Inside-backward" servos