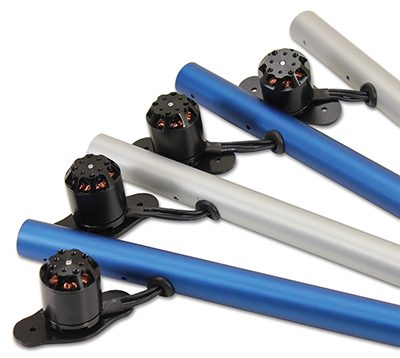
In this section, you’ll be assembling the four booms, or "arms" for your ELEV-8 v3.
Warning! As tempting as it may be, DO NOT attach the propellers or propeller adapters to the motor yet. In fact, you won’t need them until the very last step, so go ahead and stash them away for the moment.
This section will take approximately 1 to 2 hours, depending on your skill level and equipment.
Tip! For your reference, wherever hardware is included in a Parts list, just click on the item link to open this image [2] in a new window.
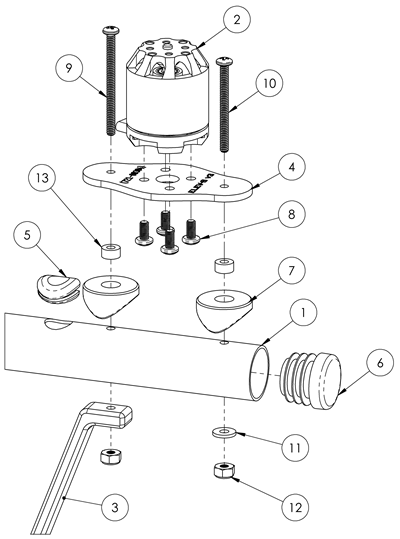
A PDF of the above drawing is available for download here [3].
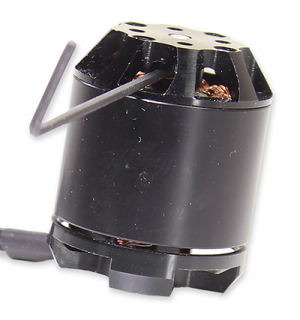
IMPORTANT! IF YOU PURCHASED YOUR ELEV-8 V3 KIT AFTER FEBRUARY 2016 AND/OR HAVE MOTORS WITH TWO (2) SET SCREWS – SKIP THIS STEP AND GO TO STEP 2: ATTACH MOTORS TO MOTOR MOUNTS.
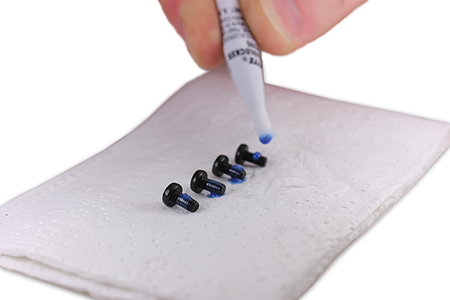
For users with V3 kits purchased before February 2016, and/or users with motors that have only one (1) set screw, please complete this step. Here you will apply Loctite® to the motor set screws to prevent them from loosening during flight and potentially causing equipment failure.
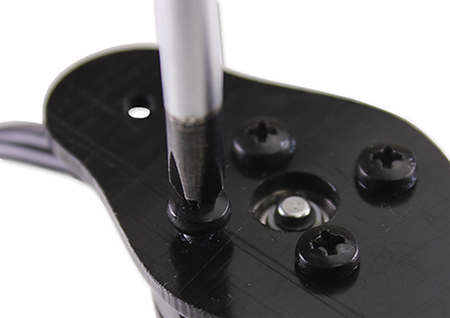
Using the hex key, carefully remove the motor set screw from each motor. The screws may be very tight; be careful not to break your hex key.
Tip! To open the Loctite® twist off the cap. When you are done, use the other end of the cap to seal the Loctite®, you'll need it a few more times in the assembly process.
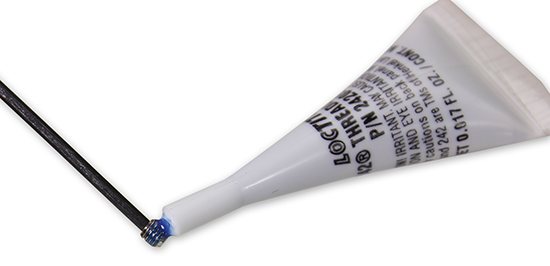
3. Allow the Loctite® to set for 10 minutes; it will fully cure in 24 hours.
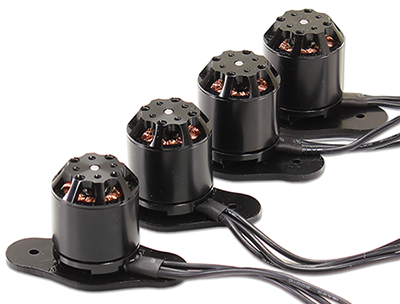
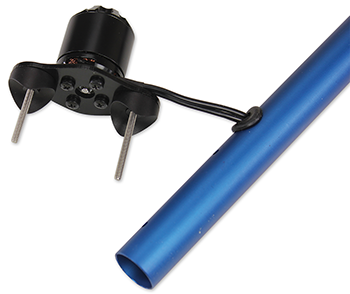
Before the motors can be attached to the Booms, they need to be connected to the Motor Mounts, which are one of the sacrifical parts of the ELEV-8 v3.
Sacrificial parts are intentionally engineered to fail under excess mechanical stess. They are engineered to fail first, thus protecting other parts of the system, just as an elecrrical fuse protects an elecrical circuit. In this case, the motor mount is engineered to to break before the motor is damaged in most (but not all) crashes, since it is less expensive and easier to replace than the motor.
Tip! For your reference, wherever hardware is included in a Parts list, just click on the item link to open this image in a new window.

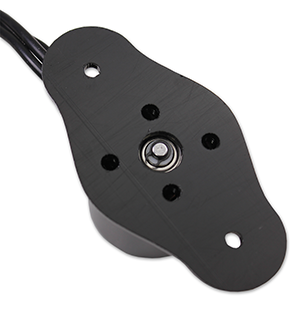
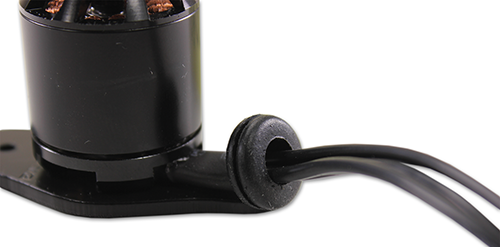
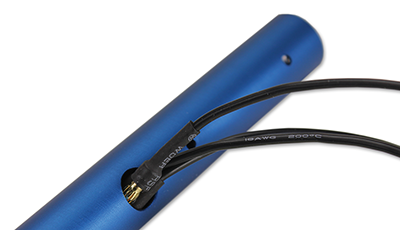
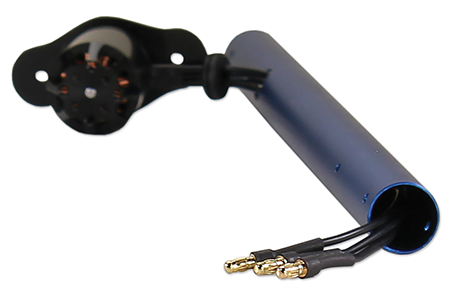
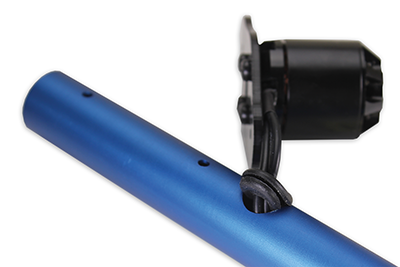
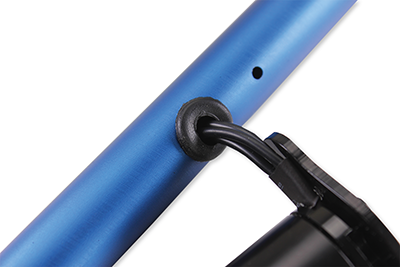
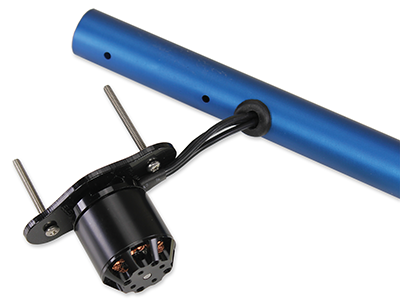
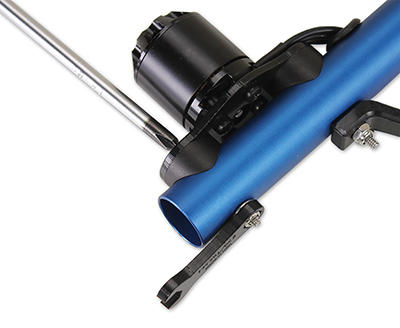
The extension wires are feed through the booms to protect them, and it's easiest to do so before the motors are mounted. Grommets are used to protect the wires from the sharp edges of the holes

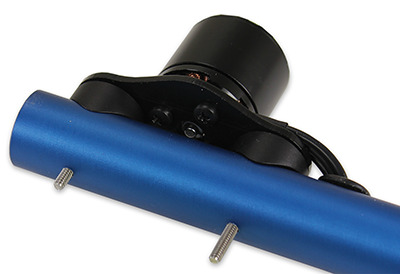
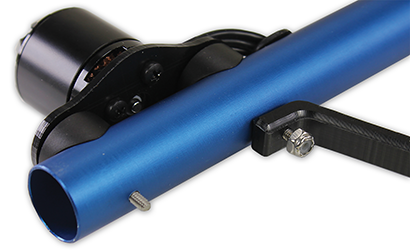
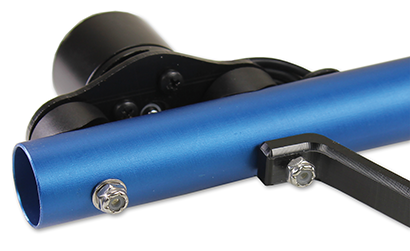
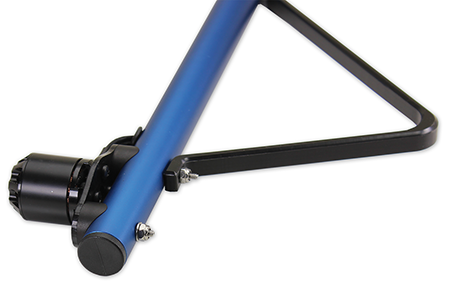
Now you will be fastening the motor mounts to the booms and attaching one side of the landing gear.
*When determinig which machine screw to use, use the screws with a length that is equal to or just shorter than the length listed. Industry standard tolerance for machine screws allows them to be up to 1/16" shorter than their numerical size.
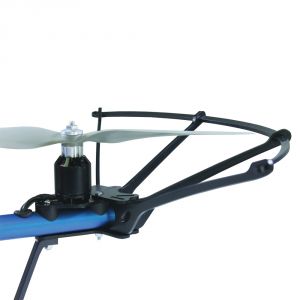
Before you begin, view the ELEV-8 Prop Guard Kit tutorial [6] videos, and decide whether you will add this accessory to your quadcopter. It is highly recommended to help reduce repairs and property damage if you are learning to fly. If yes, then assemble each section according to the video, and attach to each boom as you proceed from Step 3 below, but using the longer screws provided with the Prop Guard kit.
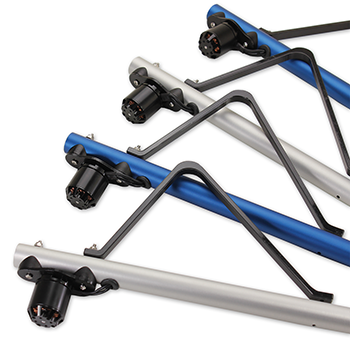
If you elected to use the Prop Guard Kit, each boom will instead look like this:
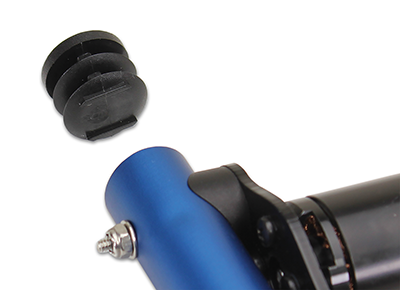
In the final step of boom assembly, you'll be fitting plastic caps to the end of the booms, which will help protect them from impact and gives the ELEV-8 a cleaner look!

Links
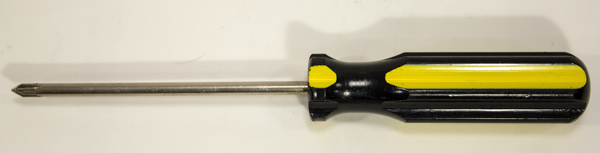
[1] http://learn.parallax.com/sites/default/files/content/ELEV-8/Tools/tool_screwdriver.jpg
[2] http://learn.parallax.com/sites/default/files/content/ELEV-8/v3-Assembly/v3-HardwarePackSingles-Labeled.png
[3] https://learn.parallax.com/sites/default/files/content/ELEV-8/v3-Assembly/80300-BA%20RevA03.PDF
[4] https://learn.parallax.com/sites/default/files/content/ELEV-8/v3-Assembly/v3-HardwarePackSingles-Labeled.png
[5] http://www.parallax.com/product/80310
[6] http://learn.parallax.com/node/1737