- Assemble the platform you will be mounting your project to.
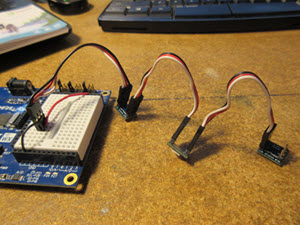
- After making the platform, assemble the RGB LED string by putting a 3-pin cable into each side of your LED boards, going from SI to SO in each LED. The last LED in the string should have one side without wire connections.
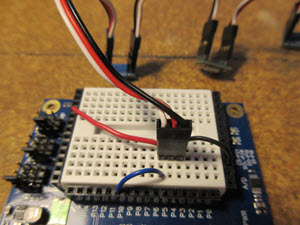
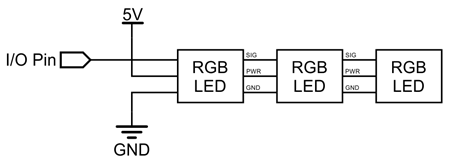
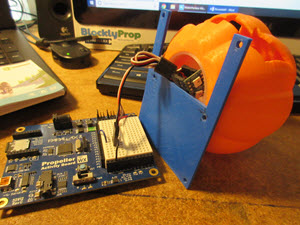
- Wire the circuit for the LEDs on the Activity Board's breadboard. Your signal wire (white) should connect to a pin between numbers 3 to 11. Make sure the pin you choose is the correct pin you call in your BlocklyProp code later on!
- Ground wire (black) must connect to ground on your Activity Board. The red wire goes to 5V.
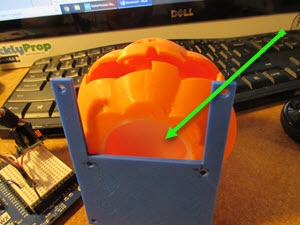
- Glue the light diffuser you made into the bottom of the pumpkin and then glue head to the platform. Leave about half of the head over the cut out in platform so you have room to insert the LEDs. I used CA glue with PLA filament for good bonding.
- Insert the RGB LEDs you set up already into the hole in the bottom of the pumpkin (into the light diffuser you should already have placed inside).
- Install the wav-playing speaker (Veho, or Portable Mini Hamburger speaker) to the side of project platform.
- If you have SimpleIDE installed, follow the directions provided in the Play WAV Files tutorial here to load the wav file of your choice to your SD card.
- If you do not have SimpleIDE installed, you will need an SD card/USB adapter you can plug into your computer to load in your wav file. See the tutorial above for filename limits and other restrictions.

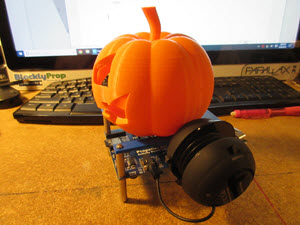
This is my finished pumpkin display. When I put it in a window, I like to use a small black piece of cloth around the platform to hide the "on" lights from the ABWX and speaker.
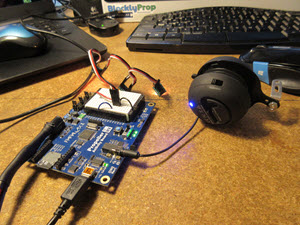
I pre-tested all systems before the full assembly of the pumpkin to ensure everything was working as it should. This can be done after assembly as well, but it is simpler and easier to make wiring changes (if necessary) before it is all put together.
- Check the Propeller Reference for BlocklyProp to find small code snippets you can use for testing each component.
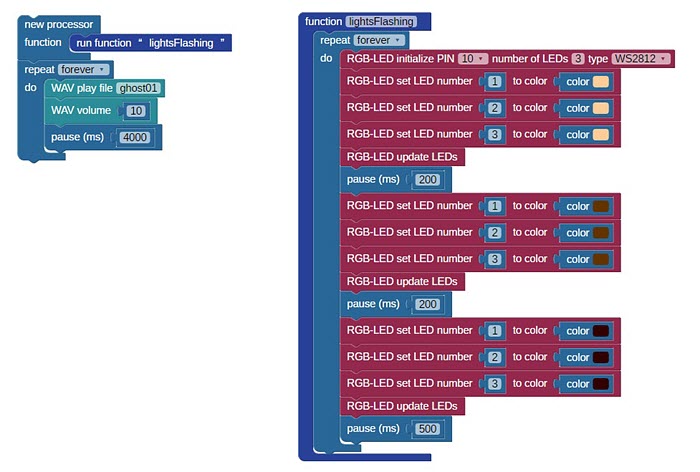
And here is the Blocklyprop code I wrote to run everything. Please feel free to improve it!
I hope you enjoy this project.