Beeps
Even though the Propeller chip can play WAV files and synthesize speech, sometimes a simple beep is all the noise you need to get the job done.
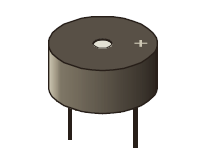
The first breadboard circuit we’ll build for the ActivityBot is a simple piezo speaker.

It is very easy to make this speaker beep with a single line of code:
freqout(4, 1000, 3000); // pin, duration, frequency
You can optionally add this line code at the beginning of your ActivityBot example programs. Then, If your robot’s batteries run low, the Propeller microcontroller will reset and restart the program—the beep will let you know if this has happened. We include it because it can be very helpful when experimenting with navigation programs, and trying to figure out why your robot is behaving in an unexpected manner.
- Go try the Piezo Beep tutorial, then return here when you are done.
Welcome back!
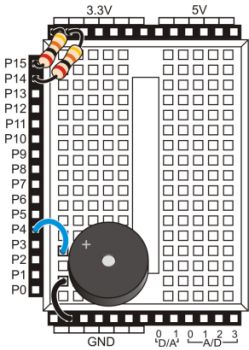
- Now, adjust your piezo speaker circuit to a new position on your ActivityBot’s breadboard, as show below. This will leave room to add a variety of sensor circuits later on.

- Re-test your piezo speaker circuit using the program from the Piezo Beep tutorial.
Well done! Now you are ready to go on to robot navigation.
- Follow the links below to continue with the ActivityBot tutorials.
