Try This – Electrical Potential
Did You Know?
Useful Terms
Current: Electric current is the flow of electrons through a circuit. Every time a light turns on in your micro:bit module’s display, it’s because current is flowing through it.
Amp: Current is measured in amps, short for amperes, and abbreviated A.
Voltage: The electrical pressure that causes current to flow through your circuit. When the micro:bit’s built-in microcontroller makes a light turn on, it does so by applying voltage to the circuit. That’s the electrical pressure that causes current to flow and the light to turn on.
Volt: Voltage is measured in volts, abbreviated V. Although we’ve been calling it “electrical pressure”, the volt is more correctly a measurement of electric potential. The volt is named after 18th century Italian physicist Alessandro Volta.
Millivolts and milliamps: Abbreviated mV and mA, the millivolt is 1/1000 of a volt, and the milliamp is 1/1000 of an amp. Example: If you measured 3.28 V across the 3V and GND, that could also be expressed as 3280 mA.
Supply rails: When the (+) and (-) columns carry supply voltage, they are sometimes referred to as the positive and negative supply rails.
Is 3V really 3 volts?
When the system is connected to a USB port, 3 V is actually very close to 3.3 V, typically 3.28 V.
If there’s no USB power and the system is connected to a battery supply, 3 V is determined by the battery voltage. Depending on how new the batteries are, it could range anywhere from 2.6 to 3.2 V.
Meet the Multimeter
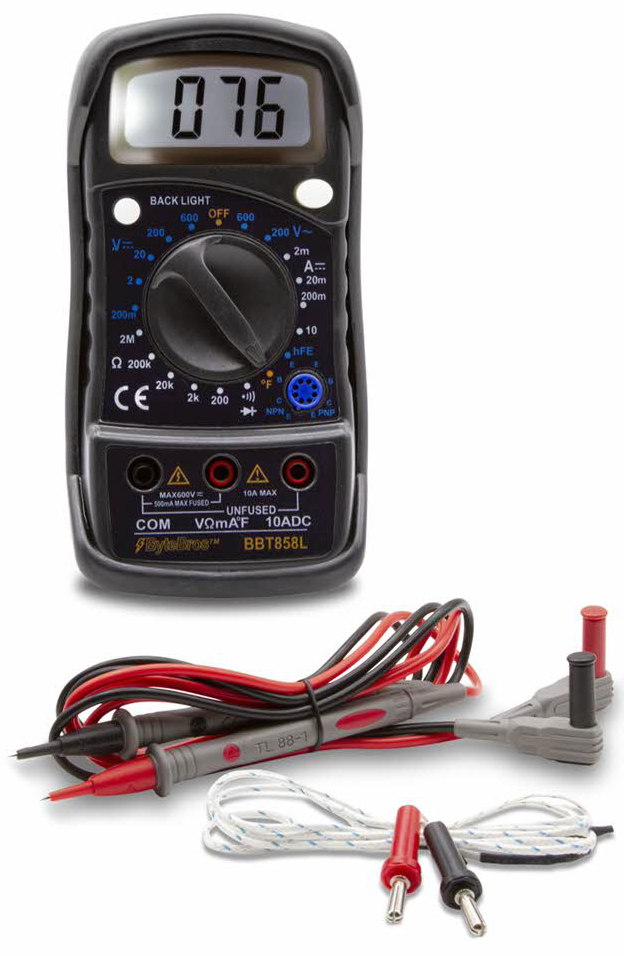
A multimeter is a device that can test for continuity and measure voltage, current, and several other properties that will be introduced as you progress through these lessons. A multimeter’s voltage measurement setting makes it function as a voltmeter. When it is set to measure current, it functions as an ammeter. It’s easier to remember that name if you think of it as an amp meter, with the ‘p’ and space removed. You will be using your micro:bit and a web app to take various multimeter measurements, but a device like the one Digital Multimeter BBT858L is an even better tool for taking those measurements.

Try This
Voltage is a measurement of the difference in electric potential between two points. That’s why you get a measurement of about 3.3 V when you connect the P2 alligator clip’s red probe wire to 3V and the P0 alligator clip’s black wire to GND. The difference in electric potential between 3.3 V and 0 V is:
3.3 V – 0 V = 3.3 V.
Let’s try something different.
- Plug both the red and black alligator clip probe wires into sockets in a negative column. Measure the voltage.
- Now, plug both probes into the positive columns, and measure the voltage.
- Finally, plug the black alligator clip probe wire into one of the negative (-) sockets and the red alligator clip wire into one of the positive (+) sockets.
Repeat the arithmetic example for the 3.3 V result for the three measurements you just took.
Solutions:
- Black & red probes in (+) column sockets: 3.3 V – 3.3 V = 0 V
- Black & red probes in (-) column sockets: 0 V – 0 V = 0 V
- Red probe in (-) socket and black probe in (+) socket: 0 V – 3.3 V = -3.3 V
