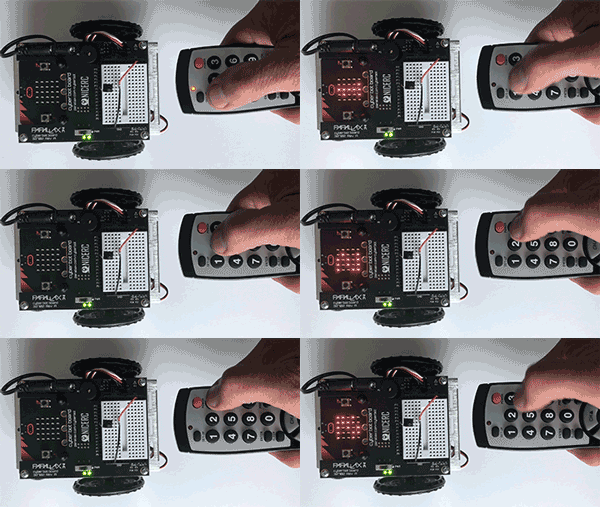
Test the IR Receiver Circuit
Let’s check that your infrared receiver circuit is wired properly and that your remote was programmed correctly. This program displays the numbers from the infrared remote on the micro:bit’s LED display. This example provides an easy way to determine the number associated with each key on the remote (especially the non-numbered CH and VOL keys).

Hardware Setup
- Set the cyber:bot board’s power (PWR) switch to Position 0.
- Make sure the battery holder is loaded with 5 AA batteries.
- Make sure the battery holder’s barrel plug is firmly plugged into the cyber:bot board’s barrel jack.
- Connect your micro:bit module to your computer with a USB cable.
Software Setup
- In a Google Chrome or Microsoft Edge browser, go to python.microbit.org to open the micro:bit Python Editor.
- Add two modules to the project: cyberbot.py, qti.py, and intbits.py.
- Go to Add modules to your micro:bit.
- Skip the Quick Start section, and instead start at the section titled Adding a Module to micro:bit Filesystem.
- Watch the video and then add the cyberbot.py module to the project by following the instructions from there to the end of the page.
- Next, follow the same steps to add the tv_remote.py module to the project. It will be in the same folder with cyberbot.py.
Script: IR_Remote_Test
- If you haven’t already done so, follow the instructions in the Software Setup section to add the cyberbot.py and tv_remote.py modules to your project.
- Set the project’s name to ir_remote_test, enter the script below, and then click Save.
(See Save & Edit Scripts and Flash Scripts with Python Editor.) - Click Send to micro:bit.
(See Flash Scripts with Python Editor.) - Set the cyber:bot board’s PWR switch in position 1.
- Point the remote at the IR receiver on the board, and then press and release a number button on the remote. You should see the number displayed on the LED matrix.
# ir_remote_test.py

from cyberbot import *
from tv_remote import *

bot(22).tone(2000, 300)

while True:
    num = ir(10).remote()
    if num > -1:
        display.scroll( str(num), 75, wait=False )
    sleep(100)
IR Interference — Are you seeing numbers appear on the micro:bit LED matrix when you are NOT pressing any numbers on the remote?
First, check to see if you are getting a syntax error report from your micro:bit.
If that’s not the problem, your IR receiver might be getting signals similar to a TV remote’s signals from some other source. The most common culprit is overhead fluorescent light fixtures. If possible, turn them off or try taking your robot to a different area.
