cyber:bot Board Rev A/B – Connect to micro:bit
In this activity, you will:
- Connect micro:bit and battery supply to a cyber:bot board.
- Use a script to test if the micro:bit is properly connected to the cyber:bot board.
Parts
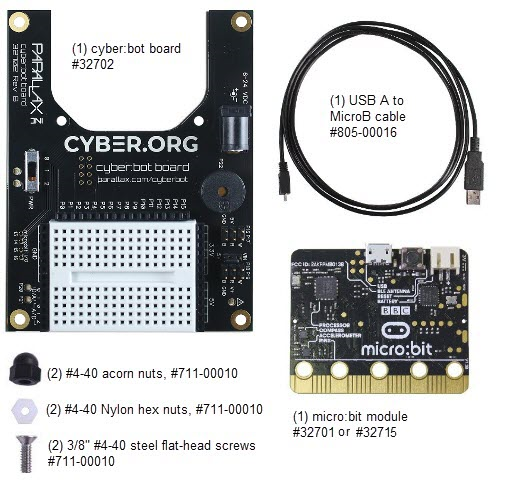
- cyber:bot board Rev B (#32702)
- micro:bit module
- USB A to Micro-B cable (#805-00016)
- (2) #4-40 acorn nuts, #711-00010
- (2) 4-40 Nylon hex nuts, #711-00010
- (2) #4-40 steel flat-head screws, #711-00010
Tools
(1) Parallax screwdriver, or a Phillips #1 point screwdriver with a 1/8″ (3.18 mm) or smaller shaft.

(1) Parallax combination wrench or ¼” combination wrench

Assembly
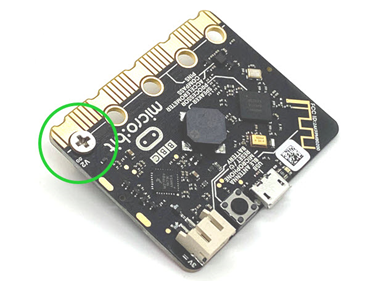
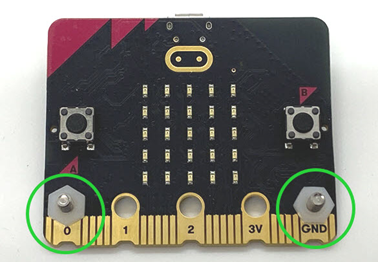
- Insert a steel flat-head screw through an edge hole in the corner of the micro:bit, from the back.
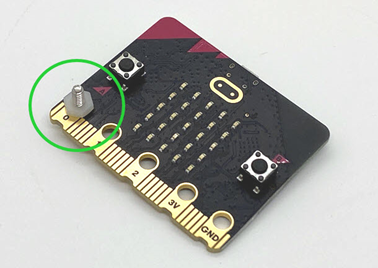
- Secure the flathead screw in place with a Nylon hex nut, from the front (the side with the two pushbuttons and the 5×5 LED matrix display).
- Repeat with the other corner edge hole in the micro:bit.
- Make sure the Nylon nuts are on the side with the 5×5 LED matrix display.
- If the USB cable is connected to the micro:bit, disconnect it.
- Place the micro:bit under the cyber:bot board so the screws come through the mounting holes.
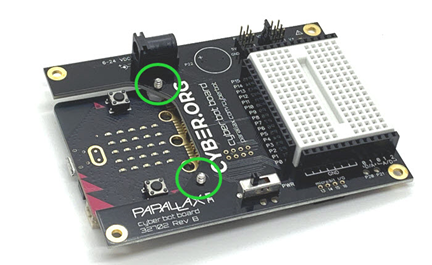
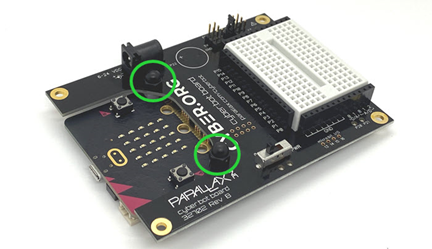
- Secure each screw with a black Nylon acorn nut.
BE CAREFUL and only tighten the acorn nuts with your fingertips. Do not overtighten; it could easily strip the acorn nut’s threads. - When you are done, your cyber:bot Rev A/B board with micro:bit attached should resemble this.
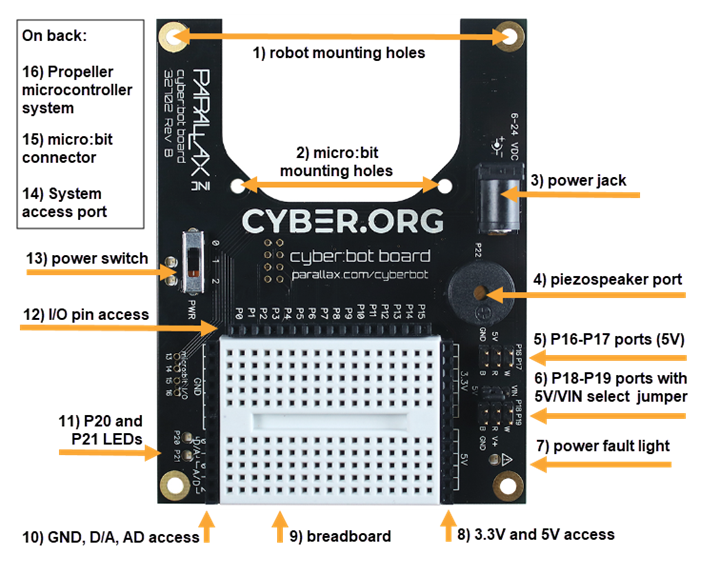
Meet the cyber:bot board Rev A/B
- Take a look at your cyber:bot board’s features.
