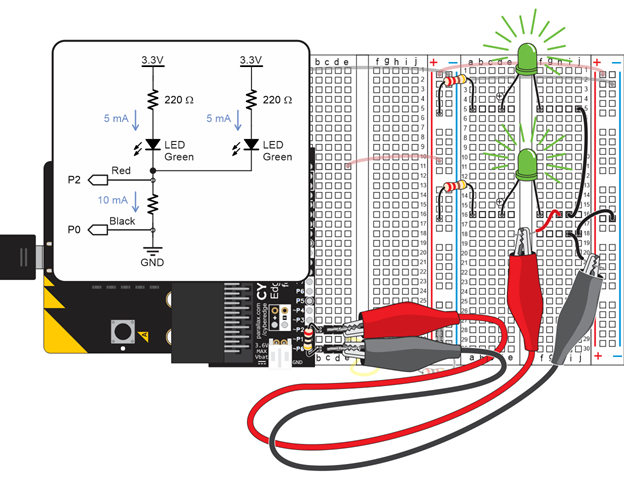
Use Kirchoff’s Current Law
Let’s test Kirchhoff’s current law by verifying the current into a node is equal to the sum flowing out. We can do this by connecting another green LED circuit to the ammeter.
Both LED circuits will conduct about 5 mA. If both of them are connected to ground through the ammeter, the sum of the currents flowing through the 20 Ω resistor should be about 10 mA.
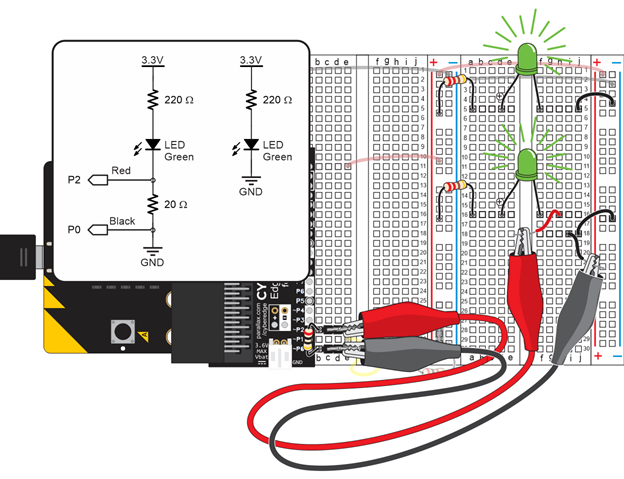
- If the 1 kΩ resistor is still in the LED circuit, remove it and replace it with the 220 Ω resistor (color code red-red-brown-gold).
- Make sure the measurement is in the 5 mA neighborhood.
- Click the CYBERscope’s Disconnect button.
- Disconnect the USB cable.
- Build a second green LED circuit with a 220 Ω resistor, and verify that it emits light when connected to GND.
- Disconnect the second LED circuit from GND, and plug it into the same row as the red ammeter probe.
- Click the CYBERscope’s Connect button, and verify that the current through the ammeter has approximately doubled.