Pin Control Registers
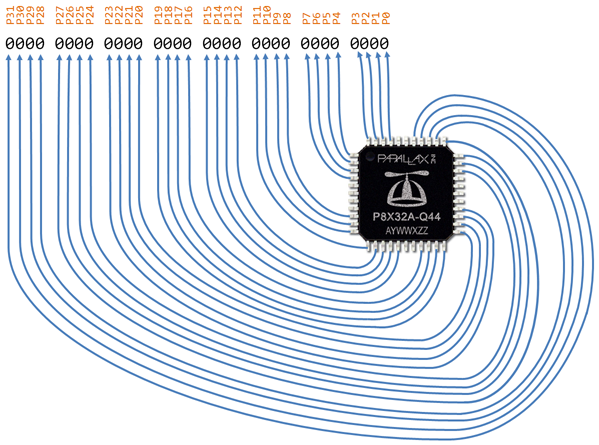
Now that we know a litle bit about shifting, inverting, AND’ing and OR’ing, we can start using that knowledge to turn the pins of the Propeller microcontroller on and off or read them as inputs. The Propeller multicore microcontroller has 32 GPIO pins, which stands for “General Purpose Input/Output.” Because it is a 32-bit processor, it can fit all of those pins into a single port. Other microcontrollers have multiple ports, often labeled PORTA, PORTB, etc. On the Propeller, there is only a port A.
The port has several pin control registers:
- DIRA – sets the directions of each of the pins as an input (0) or an output (1)
- OUTA – sets the state of each pin high (1) or low (0)
- INA – can be read to determine the state of each pin as an input
Setting Pin Direction
If we want to set pins 0-15 as inputs and pins 16-31 as outputs, we could type this line of code into our program:
DIRA = 0b11111111111111110000000000000000;
So, how do we change one pin at a time? This is where using shifting, inverting, AND’ing and OR’ing come in handy.
Let’s set pin P3 as an output and leave all of the other pins as they are. This means we need bit 4 to be a 1. This code will do just that – it sets P3 to a 1 without changing any of the other pins:
DIRA = DIRA | 0b00000000000000000000000000001000;
Here’s why this works: If you take any bit and OR it with a zero (0), it will stay the same. If you OR the number with a one (1), it will become a one (1).
Now let’s try to make the line of code simpler and more useful:
DIRA |= (1 << 3);
Two things were simplified. The first is replacing DIRA = DIRA | …. with DIRA |=. It’s a shorthand trick that gives the same result. This can be done with other operands too: +=, -=, *=, &=, |= are just a few. You can find a complete list by going here and scolling down to “Assignment Operators”. The other thing that was simplified was to create the binary number 1000 by taking the number 1 and left shifting it 3 places. This means that if we want to build a useful function, we could do this:
DIRA |= ( 1 << pinNumber );
This will set whatever number we assign to pinNumber as an output.
Let’s try setting a pin as an input. This means that we need a specific pin to be a 0, and we need to leave every other pin alone. If we AND something with a 1, it will stay the same, and if we AND it with a zero, it will become a zero. This means that to set pin P3 to be an input, we would type:
DIRA = DIRA & 0b11111111111111111111111111110111;
We can create the big long binary number by inverting 00000000000000000000000000001000, and we can create that number by shifting a 1 to the left 3 places:
DIRA = DIRA & ~( 1 << 3 );
And if we replace the 3 with pinNumber and use the shorthand operator:
DIRA &= ~( 1 << pinNumber );
Now we have a way to set an input and to set an output. We can build two useful functions:
void FCsetAsInput( int pinNumber ) { DIRA &= ~( 1 << pinNumber ); }
void FCsetAsOutput( int pinNumber ) { DIRA |= ( 1 << pinNumber ); }
Setting a pin high or low
We can use the same tricks we used to set pins as inputs or outputs on a different register, the OUTA register, so set the state of an output pin.
If we replace the DIRA with OUTA in the the functions we wrote earlier, we can build two new useful pin setting functions:
void FCsetPinLow( int pinNumber ) { OUTA &= ~( 1 << pinNumber ); }
void FCsetPinHigh( int pinNumber ) { OUTA |= ( 1 << pinNumber ); }
Reading an input
This one gets a little trickier. Instead of setting a register, we are reading it. Look at the picture at the top of this page again. Each pin corresponds to a bit in the INA register, so if we were to read the INA register, we might get something that looks like this:
10101010011011111011101010111101
If we are only interested in pin P3, we need to create a mask and then AND the INA register with that mask:

To create the mask, we can shift 1 to the left 3 positions, and to get the result, we can shift it to the right 3 positions. Now we can create a function that reads the input of any pin:
int FCreadPin( int pinNumber )
{
  int mask = 1 << pinNumber;                        // Set up mask
  return (INA & mask) >> pinNumber;                 // Return input state
}