Skip to content
Parallax Learn

Parallax Learn

  • Welcome
  • Tutorials
        • Tutorial Series head tag

          Tutorial Series
        • Tutorial Series

          The special, classroom-ready series pages are organized collections of tutorials for our most popular hardware and/or languages. The tutorials for each topic are conveniently accessible from a single page, shown in the order it is recommended that they be completed.
        • Robotics Series Head tag

          Robotics Series
        • Robotics Series

          • Artificial Intelligence
          • Cybersecurity: Radio Data tutorialCybersecurity
          • cyber:bot + Python
          • cyber:bot + MakeCode
          • Boe-Bot Tutorial SeriesBoe-Bot
          • Arduino Shield-Bot
          • ActivityBot with C TutorialsActivityBot + C
          • ActivityBot with BlocklyProp Tutorial SeriesActivityBot + BlocklyProp
          • Scribbler 3 Tutorial SeriesScribbler 3
        • Electronics & Programming Series Head tag

          Electronics & Programming Series
          • BS2 Board of Education Tutorial SeriesBS2 Board of Education
          • Propeller C-Language BasicsPropeller C Basics
          • FLiP Try-It Kit C Tutorial SeriesFLiP Try-It Kit + C
          • FLiP Try-It Kit BlocklyProp TutorialsFLiP Try-It Kit + BlocklyProp
          • Badge WX Tutorial SeriesBadge WX
          • Propeller BlocklyProp Basics and ProjectsPropeller BlocklyProp Basics
          • View All Tutorial Series »
        • Browse Tutorials
        • Browse Tutorials

          Individual tutorials sorted by robot or kit, and language.
        • By Robot or Kit
          • ActivityBot
          • SumoBot WX
          • Boe-Bot
          • Shield-Bot
          • cyber:bot
          • Badge WX
          • ELEV-8
          • ARLO
        • By Language
        • By Language

          • Propeller C
          • Arduino
          • BlocklyProp
          • PBASIC
          • Python
          • MakeCode
          • View All Tutorials »
  • Educators
  • Reference
  • Downloads
  • Home
  • All Courses
  • IR SumoBot WX Opponent Detection and Tracking

IR SumoBot WX Opponent Detection and Tracking

Detect and Charge at an Opponent

Now that the IR receivers have passed the tests, it’s time to use them in a program that makes the SumoBot charge at an opponent it detects with its IR.
Program

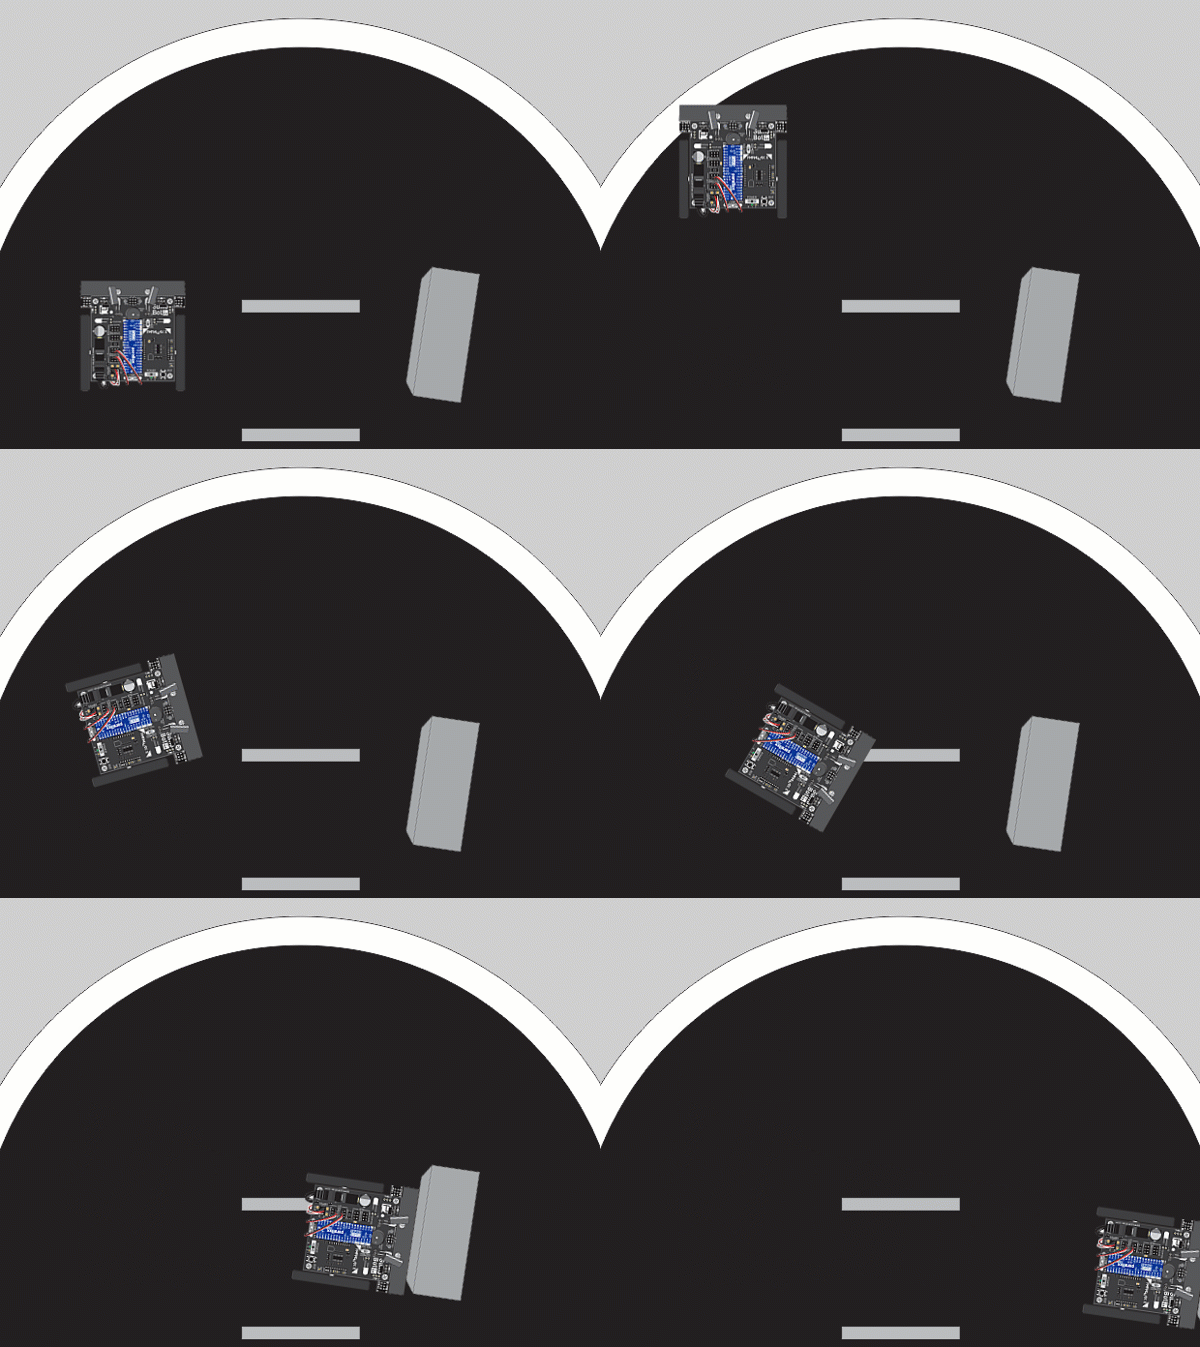
This program charges straight ahead if an opponent is detected by both IR sensors.  If the opponent is only seen by the left sensor, the SumoBot pivots left.  Likewise, if the opponent is only seen by the right sensor, the SumoBot pivots right.

  • Download SumoBot-Front-IR-Nav.

SumoBot-Front-IR-Nav.svg

  • In BlocklyProp Solo, click the Open button, and open the SumoBot-Front-IR-Nav.svg file you just downloaded.


  • If your Terminal IR Distance Measurements had a max distance of 8 for both sensors, skip to Set POWER to 1 step below.  Otherwise, continue here:
    • If one or both of your IR receivers would not report anything above some value like 5 or 6 with no objects in its path, first make sure you have tried everything in the Troubleshooting section.  If you did and the IR still reports a max distance below 8, then:
      • Right-click the IR Front Navigator function block and select Expand Block.  (There’s an example of this in the How It Works section.)
      • Change the 7 values to one less than the no objects detected distance.  For example, if the no objects detected distance was 6, change the 7s to 5s.
  • Set POWER to 1.
  • Click the Load & Run (Save code to EEPROM)  button to load the program into your SumoBot.
  • Set POWER to 0.

Tests

  • Make an 8 ½ inch tall x 3.5 inch wide cylinder out of a sheet of printer or binder paper and some tape.
  • Disconnect USB, make sure batteries are loaded and take it to the sumo ring.
  • Set POWER to 2.
  • Allow the SumoBot to roam the sumo ring, and verify that it still avoids the border with its QTIs.
  • Next, try placing the paper cylinder 6 inches (or 150 cm) in front of one of the sensors.  The SumoBot should turn toward the object and then start pushing it out of the ring.


Printer-friendly version
How the Tests Work
Prev
Understanding and Tuning your Code
Next

DISCUSSION FORUMS | PARALLAX INC. STORE

About | Terms of Use | Feedback: learn@parallax.com | Copyright©Parallax Inc. 2024

© 2025 Parallax Learn • Built with GeneratePress