How to Create a Simple Library
Imagine you have created an interesting application. Along the way, you discovered that your code needed to repeat a number of certain tasks frequently, so you put those tasks into functions. Now those functions are easy to re-use, and your code is tidy — great job!
But what if you want to use those handy functions in your next interesting application? You could copy and paste them from one applciation to another every time you want to use them. But there’s a better way: create a simple library for them. Then, you can include that library in the beginning of any future program, and call any function in that library in much the same way you’ve been calling pause, high, low, and other functions from the simpletools library.
Make sure you have at least gone through the Propeller C – Start Simple and Propeller C – Functions tutorials before continuing here.
Start with an Awesome Test Application
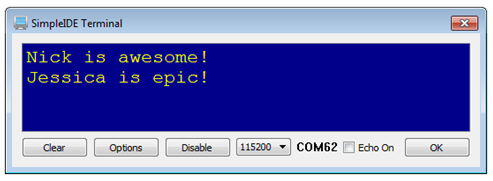
Start with some working code that has functions you might want to reuse. Here we have a very simple application with two functions to append whomever’s name you have printed with “is awesome!\n” or “ is epic!\n”.
/*
  Awesome Messages.c
*/

#include "simpletools.h"                      // Include simple tools

void awesome(void);                           // Forward declarations
void epic(void);

int main()                                    // main function
{
  print("Nick");                              // Print a name
  awesome();                                  // Append with "is awesome!\n"

  print("Jessica");                           // Print another name
  epic();                                     // Append with "is epic!\n"
}

void awesome(void)                            // awesome function
{
  print(" is awesome!\n");
}

void epic(void)                               // epic function
{
  print(" is epic!\n");
}
Before moving the awesome and epic functions to libraries, let’s test this code to make sure it works.
- Create a new project, paste in the code for Awesome Messages.c, click Run with Terminal, and verify that it displays the following messages:
Alright, so we have working code with two functions that are destined for a simple library. After creating an awesome library, you won’t have to keep the forward declarations and functions in your code any more. They’ll be neatly tucked away in the awesome library, and all that you’ll have to do in order to access them will be to add #include “awesome.h” to the beginning of your code.
Create the libawesome Folder and Project
The first step to creating a library named awesome is to save your application as libawesome inside a folder named libawesome. This folder has to be located in the Simple Libraries folder for SimpleIDE to access it, and to keep things neat we’ll place it all in a subfolder named My Libraries.
- Click the Save Project As button and navigate to …Documents\SimpleIDE\Learn\Simple Libraries.
- Click the New Folder button and make a folder named My Libraries
- Click the Open button to go into the My Libraries folder.
- Click New Folder again, and this time, name the new folder libawesome.
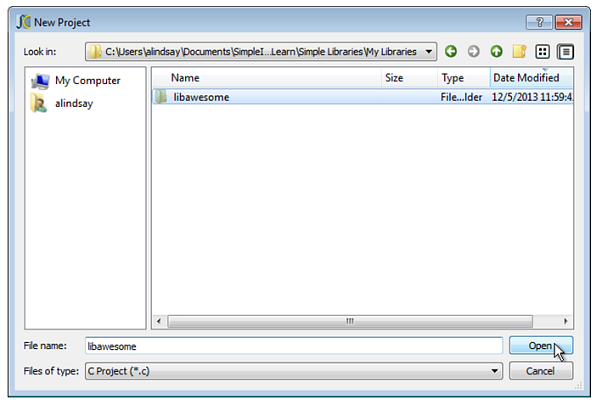
- Click Open again to go into the libawesome folder (see below image).
- Set the filename to libawesome, and click Save.
This should create a libawesome project.side project file and libawesome.c soure inside the libawesome folder. Both files must be there in the right place for creating the simple library. This is an important step, so let’s double-check that before moving on.
- Use a file browser (Windows Explorer, Mac Finder) to verify that your folders and files look like this. If not, delete your files and libawesome folder, and try the previous steps again.
