Gripper Test Script
Hardware Setup
- Set the cyber:bot board’s power (PWR) switch to Position 0.
- Make sure the battery holder is loaded with 5 AA batteries.
- Make sure the battery holder’s barrel plug is firmly plugged into the cyber:bot board’s barrel jack.
- Connect your micro:bit module to your computer with a USB cable.
Software Setup
- In a Google Chrome or Microsoft Edge browser, go to python.microbit.org to open the micro:bit Python Editor.
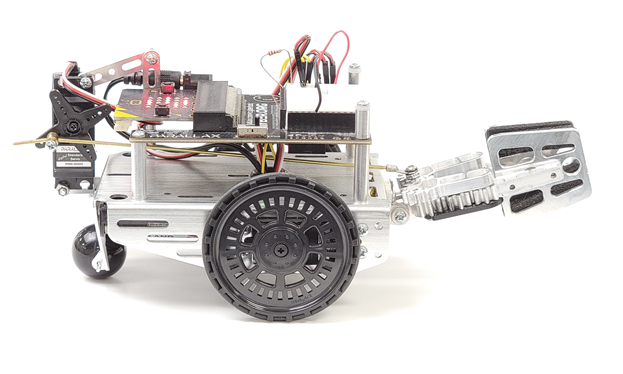
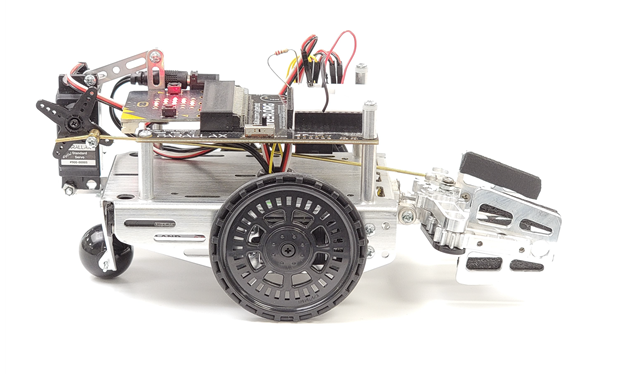
The script will turn the Gripper control servo to its 30° position to make the gripper close and lift, and to its 150° position to make the Gripper paddles lower and open. If your Gripper does not properly complete both motions, the troubleshooting section (just below this section) has a script you can run while making mechanical adjustments.
- Right-click test_gripper_angles_buttons_with_fb360.hex link below, choose Save As, and then save the file to your computer.
test_gripper_angles_buttons_with_fb360.hex
Note: The script was created by entering the python script below and adding the cyberbot.py and feedback360.py modules to the Project Files as shown in Add modules to your micro:bit. The Script Name was set to test_gripper_angles_buttons_with_fb360 before saving it as a .hex file as shown in Save & Edit Scripts.
Script: test_gripper_angles_buttons_with_fb360
- Open the script you just downloaded with the python.microbit.org editor.
- Click Send to micro:bit.
- Disconnect the USB from the cyber:bot robot’s micro:bit module.
Test script: test_gripper_angles_buttons_with_fb360
# test_gripper_angles_buttons_with_fb360

from cyberbot import *

display.show(Image.ARROW_E)

while True:
    if button_b.was_pressed():
        bot(15).servo_angle(30)     # Close gripper & lift
        display.show(Image.ARROW_W)
    elif button_a.was_pressed():
        bot(15).servo_angle(150)    # Lower gripper & open
        display.show(Image.ARROW_E)
Gripper Tests
The main purpose of these tests is to verify that the script makes the Gripper paddles complete both the close/lift and lower/open motions. If it doesn’t do both correctly, try the Troubleshooting section below.
- Set the PWR switch to 2.
- Press/release the micro:bit module’s B button and verify that the Gripper paddles close and lift.
- Press/release the micro:bit module’s A button and verify that the Gripper paddles lower and open.
- If the Gripper does not complete both the close-lift and lower-open motions, check the Troubleshooting section below.
- When you are done, set the cyber:bot board’s PWR switch to 0.
- To extend battery life, make sure to do this whenever the cyber:bot with Gripper is not in use.