RFID Reader
This tutorial will show you how connect the RFID Card Reader to the Propeller microcontroller; you’ll also learn how to both read a tag’s ID number and use that data in a program.
This tutorial will show you how connect the RFID Card Reader to the Propeller microcontroller; you’ll also learn how to both read a tag’s ID number and use that data in a program.
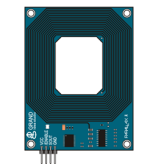
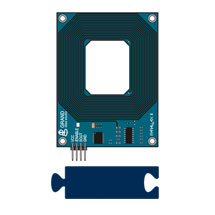
RFID stands for Radio Frequency Identification. The Parallax RFID Reader Serial + Tag Sampler (#32390) includes several unique RFID tags. … Read more
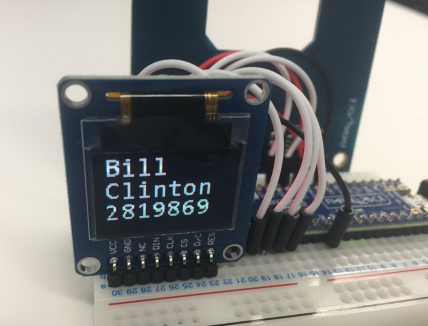
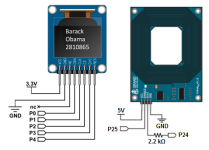 Create a database of records by storing RFID tag numbers with meaningful information (like names, dates, or locations) together in EEPROM. Using an OLED screen you can even display the records for each tag as you scan them.
The FLiP – RFID Reader with EEPROM Names program below is the complete Blockly example shown in the video on … Read more
First, you need to load the EEPROM fonts into your FLiP. Simply drag this block onto your Blockly workspace and … Read more

Half-duplex serial communication is what the the Propeller microcontroller sends to the Activity Board’s (original or WX version) serial-to-USB converter … Read more
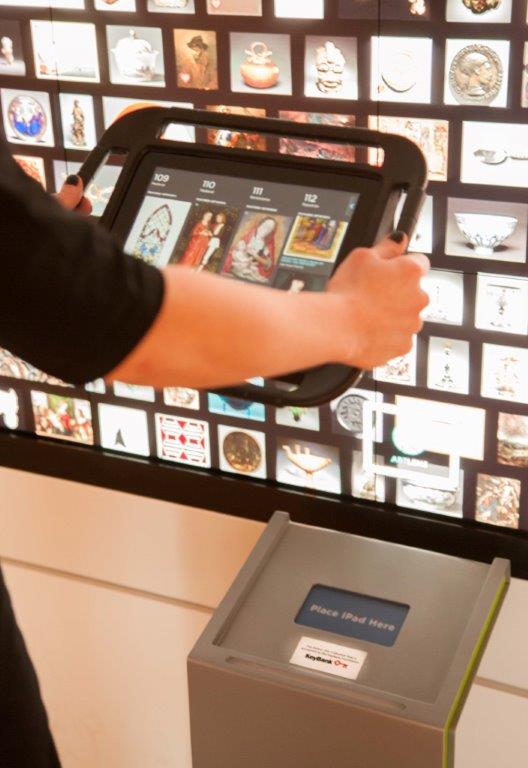
I’m privileged to work for Zenith Systems, LLC as a software developer for A/V automation systems. We provided the design, … Read more