The Setup
How to attach your XBee modules:
Remember that you should already have pre-assembled and calibrated your ActivityBot, and also wired the Joystick circuit on your Activity Board before starting this project. In this step, you will be installing and wiring the XBee connections that make it possible to drive your ActivityBot wirelessly using your Activity Board Joystick Controller.
It is actually pretty simple to attach your XBee modules to the Activity Board and ActivityBot. For each, all you need to do is push the XBee module’s pins into the slots available on the board (upper left section).
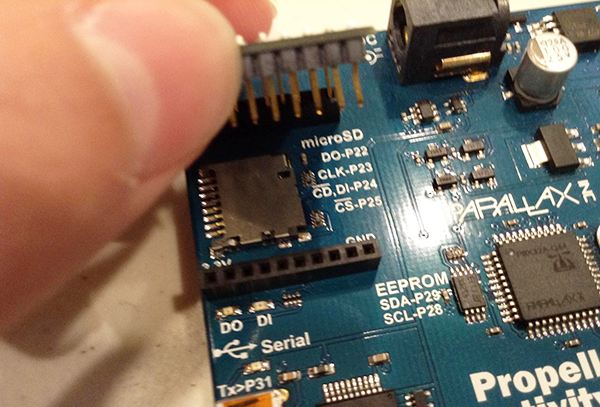
One thing that you should be careful of is that you install the XBee the right direction. If the angled edge of the XBee module is facing inward to the board, you have attached the XBee backwards. Remove the module, turn it around, and re-install it.
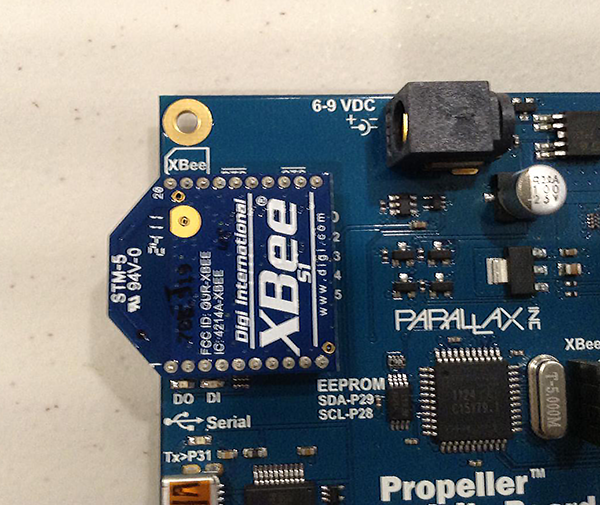
The end result of your Xbee installation should look like the image below.
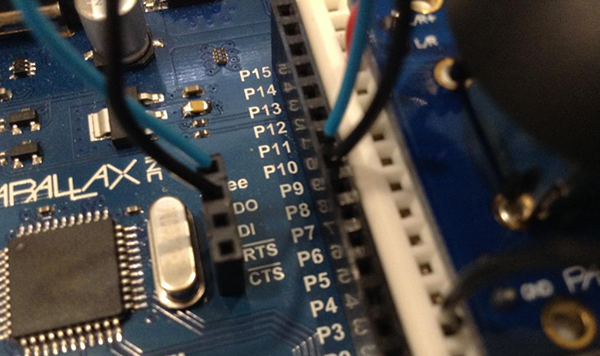
After you have attached the XBees you will need to attach 2 jumper cables to connect the DI and DO (Data in and Data out) pins to your I/O pins. In my program I specified these I/O pins to be 8 and 9. On my board, shown below, you can see that I have attached DO to pin 9 and DI to pin 8.
Once you’ve attached the jumper cables on one board, repeat this process for the other board. Your final product should look like something the picture below.
At this point the hard part should be over. You should now have a XBee-wired ActivityBot robot and your XBee-wired Activity Board Joystick Controller.
Now, all you have to do is program them.