Receiver Project for cyber:bot Output
The receiver project is also adapted from a previous tutorial.
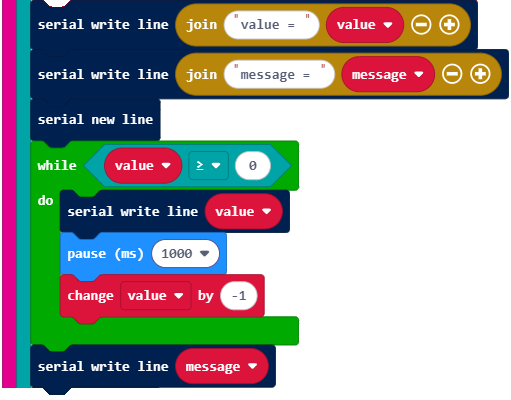
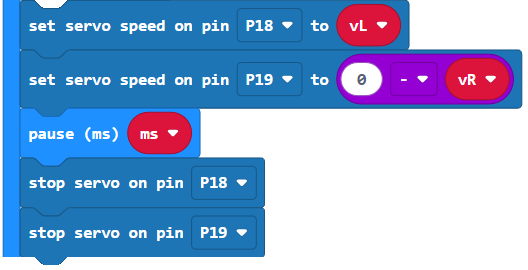
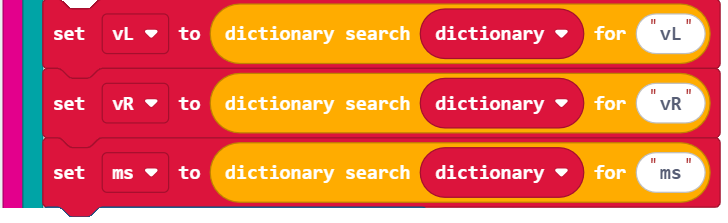
Starting with the countdown_receiver from the Send and Receive Packets activity, you can replace its countdown while loop and printed message with the servo speed and pause (ms) calls from terminal_controlled_bot_tethered_try_this. You will also need to update the dictionary parsing so that it gets the vL, vR, and ms values using the ‘vL’, ‘vR’, and ‘ms’ keys. That’s the most crucial part of incorporating the radio-in to cyber:bot navigation-out part of your tethered app into the project that wirelessly receives.
You will also need to make a few other adjustments. Here they are step-by-step:
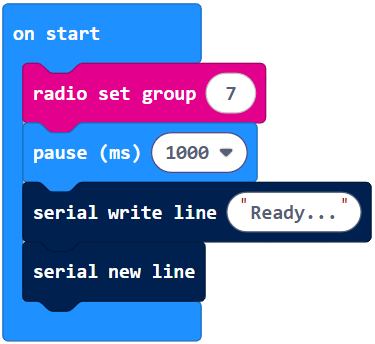
- Open countdown_receiver from Send and Receive Packets.
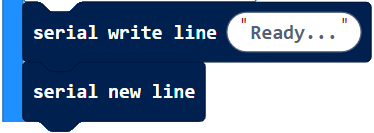
- Find these blocks:
- Replace them with these blocks:
- Make sure the cyberbot extension is loaded on your micro:bit.
- Rename the project terminal_controlled_bot_wireless.
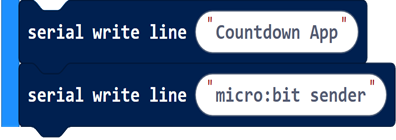
- Find these blocks:

- Replace them with these blocks:
- Delete these blocks:
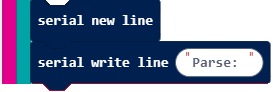
- Find these blocks:
- Replace them with these blocks:
- If you are in a classroom and using assigned channels, update your channel.
Now, your project should be ready.
- Verify the changes you made against the example project listed below.
- Set your project’s name.
- Disconnect your transmitter micro:bit from USB, and connect the cyber:bot you will be remote controlling.
- Load the code into the remote controlled cyber:bot.
- Disconnect your cyber:bot from USB and set it on the floor somewhere nearby.
- Make sure batteries are connected, and the 3-position switch is set to 2.
Example Project: terminal_controlled_bot_wireless