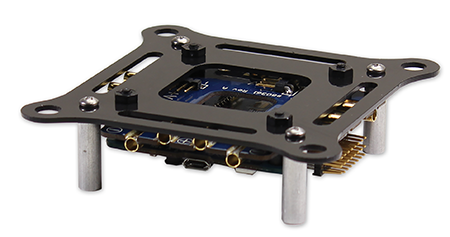
Step 14: Mount the Flight Controller and PDB
It’s now time to secure the flight controller and power distribution board. Nylon (plastic) hardware is used here to reduce the risk of damage to the boards from over-tightening, and beacue they are non-conductive.
Tools Needed:
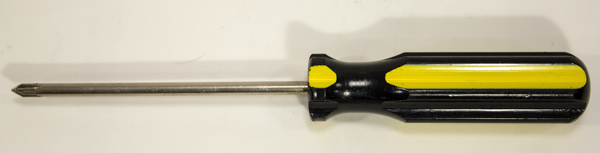
- #1 Philips Head Screwdriver
- Parallax Combination Wrench
Parts Needed:
- 1 – Isolation Plate assembly, prepared in Step 13
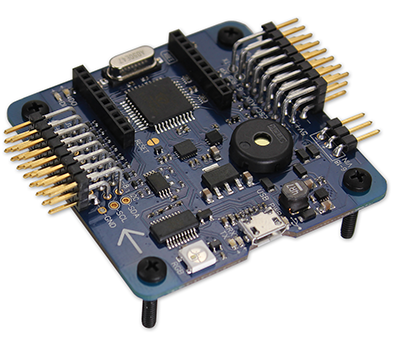
- 1 – ELEV-8 Flight Controller (#80204)
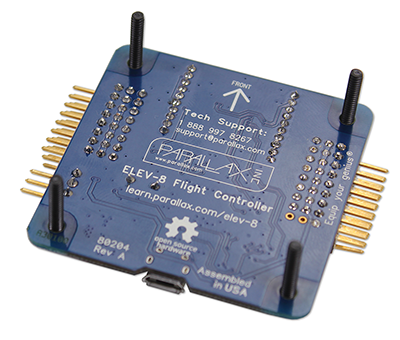
- 1 – ELEV-8 Power Distribution Board (#80361)
- 4 – Nylon Machine Screw, #4-40 x 5/8″
- 4 – Nylon Spacer, #4 x 3/16″
- 4 – Nylon Spacer, #4 x 1/8″
- 4 – Nylon Hex Nut, #4-40
Warning! The ELEV-8 Flight Controller is a sensitive piece of elecrical equipment. Handle it with care, and do not expose it to water or static elecricity.
Instructions:
- Feed the nylon machine screws through the holes in the flight controller.
- Holding the screws in place (with your hand or some tape), carefully flip the flight controller over. You’ll need to hold the screws like this for the remainder of this step.
- Slide the 3/16″ nylon spacers over the four screws.
- Slide the power distribution board down over the four screws, so that the side with the headers and name is facing up (while the assembly is upside-down).
- Slide the 1/8″ nylon spacers over the four screws.
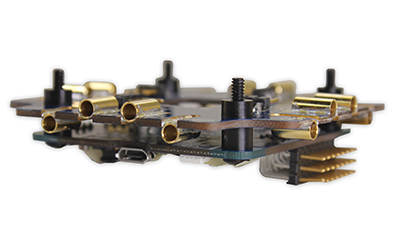
- Slide the isolation plate assembly over the four screws with the standoffs facing downward (while the assembly is upside-down).
- Thread a nylon hex nut onto each of the four screws. Tighten each screw with the screwdriver and wrench until you start to feel resistance, and then only one ¼ turn more.