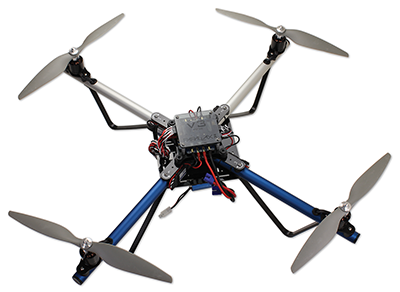
Congratulations and thank you for purchasing a Parallax ELEV-8 v3 Quadcopter, designed and manufactured in California, USA. If you require assistance, please do not hesitate to e-mail or call us.
These instructions are for the Parallax ELEV-8 v3 Quadcopter (#80300) in its standard configuration. (If you have the ELEV-8 v2, go to the v2 Assembly Guide instead.) To work offline or from paper, Click on the “Printer-Friendly Version” link at the bottom-right corner of this page (it may take several minutes to load). Be advised it’s around 100 pages when printed.
If you have an ELEV-8 Quadcopter you must register it with the Federal Aviation Administration’s UAS Registry before flying outdoors.
Preparation
This guide will take you through assembly and configuration of your ELEV-8 v3 Quadcopter Kit. But first, go through the Preparation list below. Please do not rush through the assembly and testing process! Go slowly and don’t skip anything, to avoid a dysfunctional quadcopter and extensive troubleshooting. It never hurts to double-check your work at each step!
- Read both sides of the ELEV-8 v3 Package Insert included with your kit. Please pay close attention when reading all of the important safety and liability information; building a Quadcopter is a rewarding but potentially dangerous undertaking, so it is critical that you have an understanding of the risks involved to maximize enjoyment and minimize danger.
- Carefully cross-check the contents of your kit with the insert’s Bill of Materials. If you are missing anything, email sales@parallax.com or call our Sales folks (888-512-1024). Note that some items are small sub-kits with parts not listed separately. (Also, parts and quantities are subject to change without notice).
- BEFORE beginning assembly of your ELEV-8 v3 Quadcopter, please read the entirety of the UAV Safety, Laws, and Good Citizenship tutorial. It will only take about 30 miniutes and will help keep you & your ELEV-8 safe and out of trouble.
- Read through the entire assembly guide before beginning, so you know what to expect. Assembly and testing takes about 5 to 10 hours, depending on your skill level, tools, experience, and workspace.
- Gather up your kit, necessary tools, and the Additional Items Required (below), and take them to a roomy, well-lit and comfortable work area.
- After educating yourself on the safe and proper use of Lithium-Polymer (LiPo) batteries, charge your LiPo battery.
BEFORE beginning assembly of your ELEV-8 v3 Quadcopter, please read the entirety of the UAV Safety, Laws, and Good Citizenship guide. The owner, operator, and pilot of every ELEV-8 v3 are to abide by all laws, regulations, and guidelines, including, but not limited to, those detailed in the aforementioned document. Reading and abiding by the entire UAV Safety, Laws, and Good Citizenship document could help prevent property damage, personal injury, prosecution, and fines.
Additional Items Required
These items are required for ELEV-8 v3 Quadcopter flight and are NOT included in your basic kit.
- Radio Control Transmitter and Receiver; 5-channel minimum required for flight. We recommend the Spektrum DX6 transmitter and Spektrum AR610 receiver, providing one extra channel for simple projects. If you anticipate building complex applications in the future, consider the Spektrum DX7 or DX8 and Spektrum AR8000 receiver.
- An 11.1 (3-Cell) Lithium Polymer (LiPo), with at least 3000 mAh capacity, 25C discharge rate, and an EC3 connector. Parallax’s 3300 mAh LiPo battery and 5300 mAh LiPo battery are well suited for your ELEV-8 v3.
- A LiPo Balance Charger for recharging your quadcopter’s battery. Only use a charger with balance capabilities and designed for LiPo batteries; others can cause the battery to flame and release toxic smoke.
- A Windows 7/8 computer (not RT) with an available USB port, for the Ground Station software.
- A USB A to Micro B cable, for connecting your ELEV-8 Flight Controller to your computer.
We also recommend the ELEV-8 Crash Pack (#80380). Crashes are an inevitable part of the learning process, and having to wait around for replacement parts is always a bummer.
Additional Tools Required
- Paper Towels or other disposable work surface/wipes
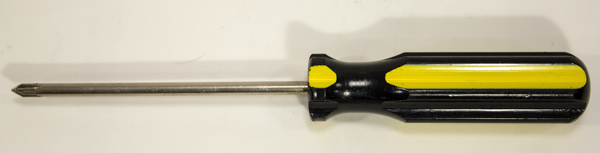
- #1 Philips Head Screwdriver
- Needle-Nose Pliers (optional)
- Book or Box approximately 1 ¼” tall, slightly larger than the top chassis plate
- Removable Tape
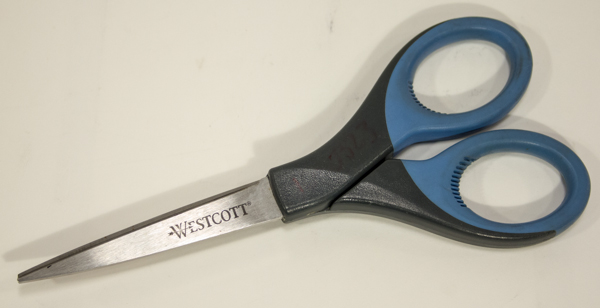
- Scissors
- Permanent Marker (or Paint Pen)
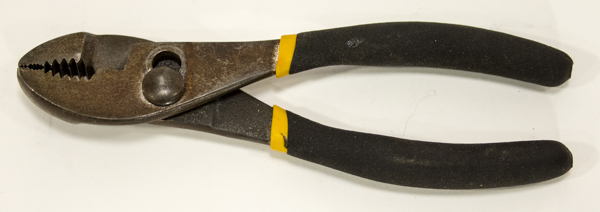
- Flat-Nose Pliers
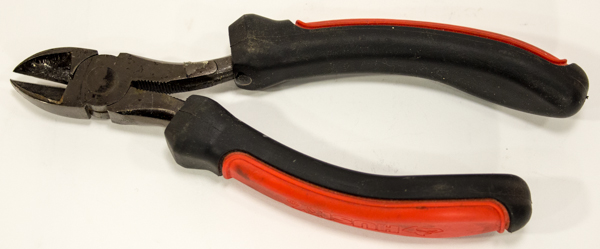
- Diagonal Cutters
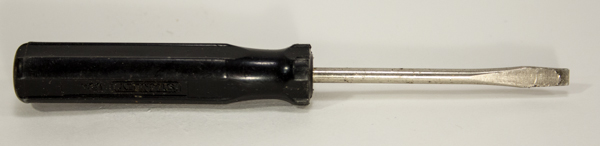
- Small Flat-Head Screwdriver (optional)
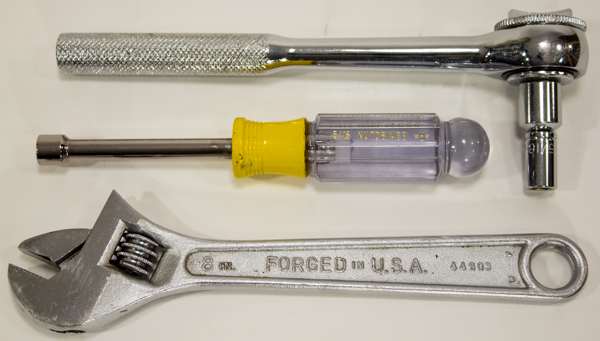
- 5/16″ Wrench, 5/16″ Socket, or Adjustable Wrench
Loctite and 242 are trademarks or registered trademarks of Henkel Corporation, U.S.A. Spektrum is a trademark or registered trademark of Horizon Hobby, Inc. and Bachmann Industries, Inc.
Curriculum
- 1 Section
- 40 Lessons
- Lifetime
- ELEV-8 v3 Quadcopter Assembly Guide40
- 1.0Step 1: Do I Need to Loctite® the Set Screws?
- 1.1Step 2: Attach Motors to Motor Mounts
- 1.2Step 3: Feed Motor Wires Through Booms
- 1.3Step 4: Bolt Motor Mount and Landing Gear to Booms
- 1.4Step 5: Insert Tube Plugs
- 1.5Step 6: Prepare the Top Chassis Plate
- 1.6Step 7: Connect Booms to Top Chassis Plate
- 1.7Step 8: Attach the Bottom Chassis Plate
- 1.8Step 9: Attach Battery Straps and Foam Pads
- 1.9Step 10: Connect the ESCs to the Motors
- 1.10Step 11: Label ESC Signal Cables
- 1.11Step 12: Route ESC Signal Cables through Chassis
- 1.12Step 13: Bolt Standoffs to Isolation Plate
- 1.13Step 14: Mount the Flight Controller and PDB
- 1.14Step 15: Install the FC Power Cable
- 1.15Step 16: Shield Sensors and Install FC Cover
- 1.16Step 17: Attach the Isolation Assembly
- 1.17Step 18: Connect the ESCs to the PDB and FC
- 1.18Step 19: Connect and Mount Your Radio Receiver
- 1.19Step 20: Connect PDB Power Cable and Secure Battery
- 1.20Step 21: Configure the Transmitter and Bind to Receiver
- 1.21Step 22: Install Software
- 1.22Step 23: Install or Update Firmware
- 1.23Step 24: Configure Flight Controller
- 1.24Step 25: Calibrate the ESC Throttle Range
- 1.25Step 26: Configure Motor Spin Direction
- 1.26Step 27: Mount ESCs to Booms
- 1.27Step 28: Full Systems Check
- 1.28Step 29: Fasten Propeller Adapters
- 1.29Step 30: Attach Propellers
- 1.30Section 1: Assemble the Booms
- 1.31Section 2: Assemble the Chassis
- 1.32Section 3: Connect the ESCs
- 1.33Section 4: Make the Isolation Assembly
- 1.34Section 5: Install the Electronics
- 1.35Section 6: Software and Firmware
- 1.36Section 7: Configure the ESCs
- 1.37Section 8: Final Testing
- 1.38Step 19b: Spektrum AR610 and AR8000 Receivers
- 1.39Step 19a: Spektrum SPMAR620 Receiver
