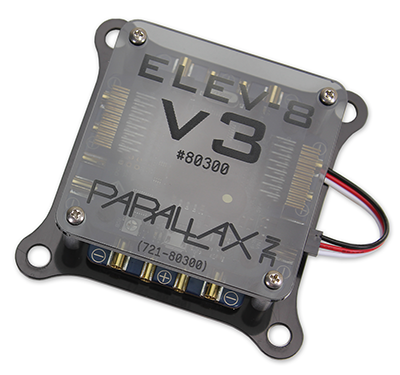
Step 16: Shield Sensors and Install FC Cover
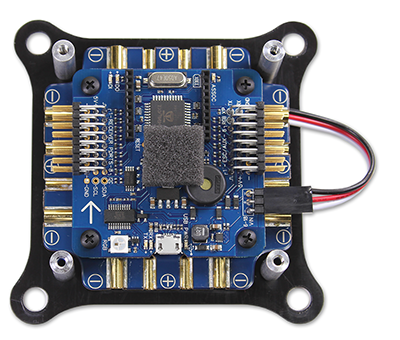
The barometric pressure sensor on the flight controller (FC) is sensitive to sunlight and wind, so a piece of open-cell foam will be placed over it to protect it. The foam will shield it from direct light and high speed airflow, while still allowing enough air to pass through to accuratly measure the air pressure. The flight controller cover will further shield the electronics while still allowing you to view the flight controller.
Tools Needed:
Parts Needed:
- 1 – Isolation Assembly, prepared in Step 15
- 1 – Foam, Open-Cell Block (#900-00106)
- 1 – ELEV-8 v3 Flight Controller Cover (#721-80300)
- 4 – Machine Screw, #4-40 x 3/8”
Instructions:
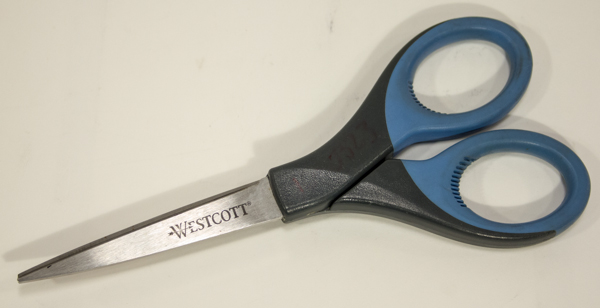
- Using the scissors, cut the foam block in half.
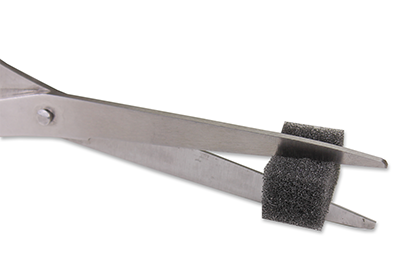
- Place the foam block, cut side facing up, over the barometer on the flight controller, as shown in the image below (place your block in the exact location as shown).
- Peel the protective paper off of the flight controller cover.
- Place flight controller cover over the isolation assembly, lining up the holes with the screws. Make sure that the arrow on the FC points away from you when the writing on the cover plate is oriented towards you.
- Thread the screws into the standoffs with your screwdriver, just until you start to feel resistance. Do not overtighten.