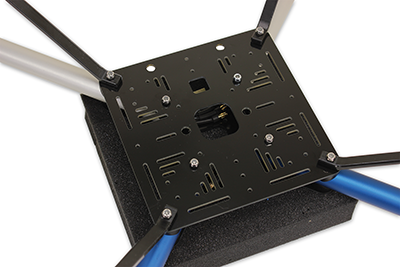
Step 8: Attach the Bottom Chassis Plate
With everything prepared, you will now carefuly attach the bottom chassis plate. Some patience will serve you well here. The ELEV-8 v3 is designed with tight tolerances to achieve the strongest and most rigid from possible, so it may take a miniute or two to get everything lined up properly.
Tools Needed:
- #1 Philips Head Screwdriver
- Parallax Combination Wrench (#700-10025)
Parts Needed:
- 1 – Boom/Top Chassis Plate Assembly, prepared in Step 7
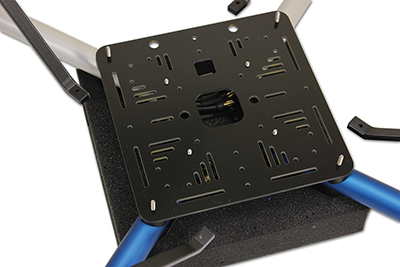
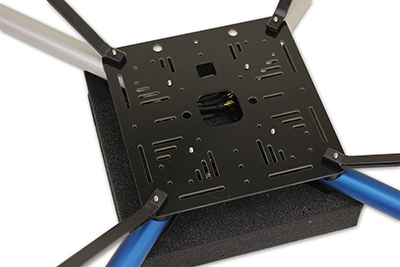
- 1 – Bottom Chassis Plate (#721-80303)
- 8 – Nylon Spacer, #4 x 1/8″ Length
- 8 – Saddle Washer, 3/4″ (#712-00010)
- 8 – Locknut, #4-40
Instructions:
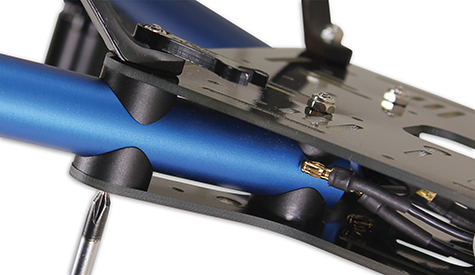
- Over each screw, slide a nylon spacer followed by a saddle washer.
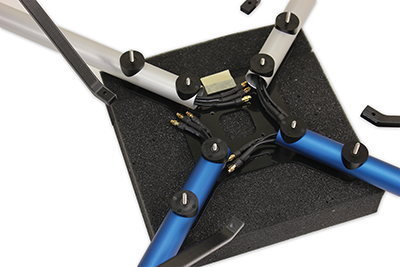
- Slide the bottom chassis plate over the screws, so that the large hole is towards the front (farthest away from you).
- Slide the landing gear over the outer screws.
- Thread locknuts onto all eight screws.
- Using the screwdriver and wrench, tighten (clockwise) all eight screws until there is no longer a gap between any parts (including nut or screw-head). Then turn the locknut one more full rotation and stop.