Skip to content
Parallax Learn

Parallax Learn

  • Welcome
  • Tutorials
        • Tutorial Series head tag

          Tutorial Series
        • Tutorial Series

          The special, classroom-ready series pages are organized collections of tutorials for our most popular hardware and/or languages. The tutorials for each topic are conveniently accessible from a single page, shown in the order it is recommended that they be completed.
        • Robotics Series Head tag

          Robotics Series
        • Robotics Series

          • Artificial Intelligence
          • Cybersecurity: Radio Data tutorialCybersecurity
          • cyber:bot + Python
          • cyber:bot + MakeCode
          • Boe-Bot Tutorial SeriesBoe-Bot
          • Arduino Shield-Bot
          • ActivityBot with C TutorialsActivityBot + C
          • ActivityBot with BlocklyProp Tutorial SeriesActivityBot + BlocklyProp
          • Scribbler 3 Tutorial SeriesScribbler 3
        • Electronics & Programming Series Head tag

          Electronics & Programming Series
          • BS2 Board of Education Tutorial SeriesBS2 Board of Education
          • Propeller C-Language BasicsPropeller C Basics
          • FLiP Try-It Kit C Tutorial SeriesFLiP Try-It Kit + C
          • FLiP Try-It Kit BlocklyProp TutorialsFLiP Try-It Kit + BlocklyProp
          • Badge WX Tutorial SeriesBadge WX
          • Propeller BlocklyProp Basics and ProjectsPropeller BlocklyProp Basics
          • View All Tutorial Series »
        • Browse Tutorials
        • Browse Tutorials

          Individual tutorials sorted by robot or kit, and language.
        • By Robot or Kit
          • ActivityBot
          • SumoBot WX
          • Boe-Bot
          • Shield-Bot
          • cyber:bot
          • Badge WX
          • ELEV-8
          • ARLO
        • By Language
        • By Language

          • Propeller C
          • Arduino
          • BlocklyProp
          • PBASIC
          • Python
          • MakeCode
          • View All Tutorials »
  • Educators
  • Reference
  • Downloads
  • Home
  • All Courses

ELEV-8 v3 Wireless Telemetry via XBee

Curriculum

  • 1 Section
  • 5 Lessons
  • Lifetime
Expand all sectionsCollapse all sections
  • ELEV-8 v3 Wireless Telemetry via XBee
    5
    • 1.0
      Hardware and Software for Telemetry
    • 1.1
      Configuring the XBee 900MHz Modules
    • 1.2
      Installing the XBee Hardware
    • 1.3
      Heat-Shrink the Base Module
    • 1.4
      Verifying the Wireless Link

Configuring the XBee 900MHz Modules

In order to get all of the data from the ELEV-8 v3 Flight Controller to the GroundStation software on your computer, the XBee modules have to be set at a high enough buad rate to support a large amount of data throughput.  57600 baud was chosen as a good comprimise between a solid signal and a fast enough transfer rate.  By default, these XBee Modules are set to communicate at 9600 baud.

Do not power on an XBee Module with an antenna connector without an antenna attached.  Powering up a radio module without an antenna attached can damage the module.

To change the baud rate for each module:

  • Connect the first XBee module to the Parallax XBee USB Adapater Board.

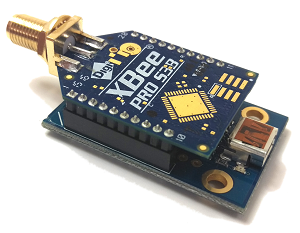
  • Attach one of the antennas to the RPSMA connector on the XBee Module.
  • Connect the XBee USB Adapter Board to your computer using the USB cable.
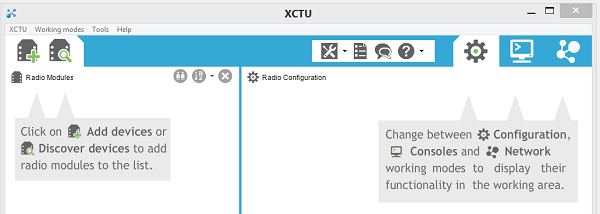
  • Open XCTU.
  • Click on the Discover devices icon:

  • Select the com port associated with your XBee USB Adapter Board.  If you are unsure, unplug it, click Refresh Ports to see which one disappears, plug it back in, refresh, and select it
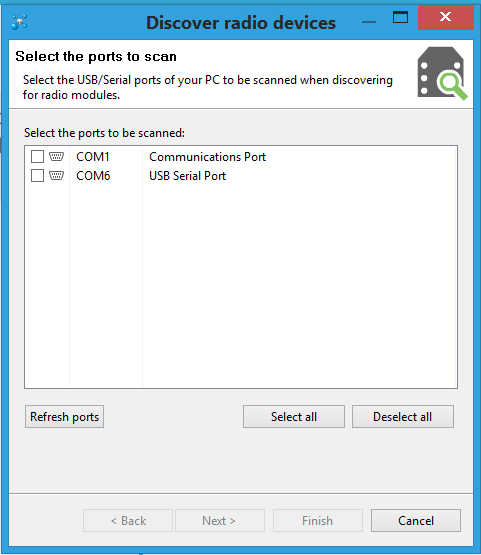
  • Click Next.
  • The default settings in the Discover radio devices window should work.  You may wish to add additional baud rates if your XBee modules have been previously configured.
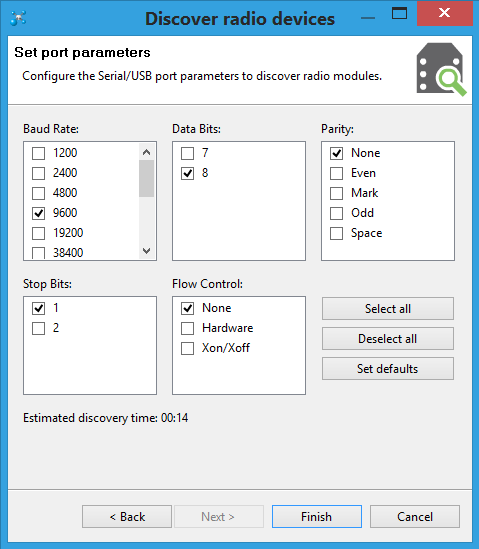
  • Click Finish.
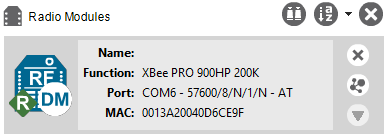
  • Wait for XCTU to finish scanning.  Your module should appear in the list on the left side of the window:

  • Click anyware on the grey box.  Wait for XCTU to load all of the module’s settings:

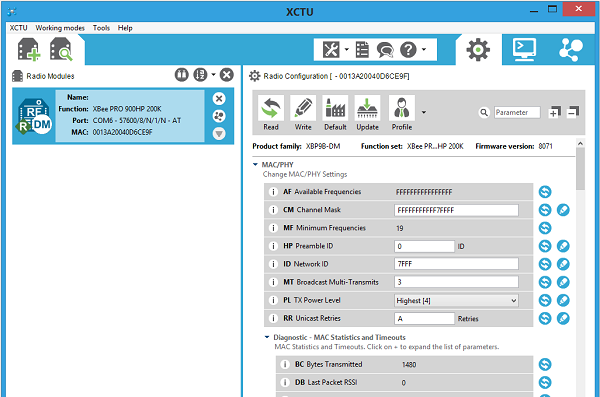
  • Once the settings are loaded, scroll down until you find the setting for BD Baud Rate.
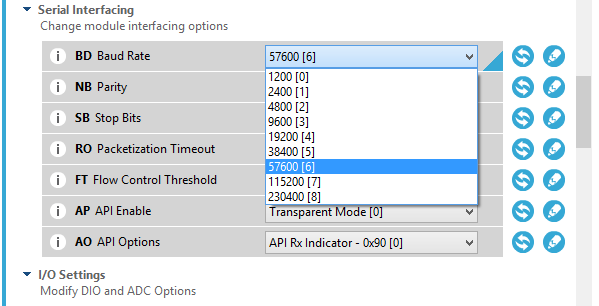
  • Change the Baud Rate to 57600:

  • Click the pencil icon to the right of the Baud Rate or the Write icon  in the top bar to save your settings.
  • Unplug the USB cable from the computer.
  • Remove the first XBee module from the USB Adapter Board and insert the second XBee module into the Adapater Board.
  • Repeat this process for the second XBee module.  To begin, click the Discover devices icon to restart the process for the second module.

Printer-friendly version
Hardware and Software for Telemetry
Prev
Installing the XBee Hardware
Next

DISCUSSION FORUMS | PARALLAX INC. STORE

About | Terms of Use | Feedback: learn@parallax.com | Copyright©Parallax Inc. 2024

© 2026 Parallax Learn • Built with GeneratePress