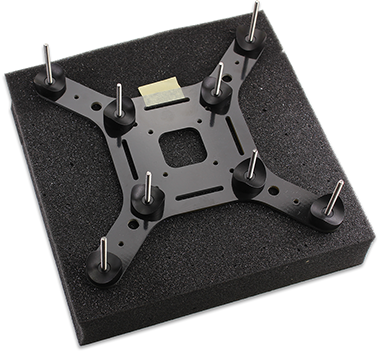
Chassis assembly starts with laying out the hardware and placing the top chassis plate upside down on an elevated surfase, so that the booms can be positioned level in the next step.
Tools Needed:
- Book or Box approximately 1 ¼” tall, slightly larger than the top chassis plate
- Removable tape
Parts Needed:
- 1 - Top Chassis Plate (#721-80302)
- 8 – Saddle Washer, 3/4" (#712-00010)
- 4 – Machine Screw, #4-40 x 1 3/8"
- 4 – Machine Screw, #4-40 x 1 5/8” (or 1 3/4", depending on your kit)
- 8 - Nylon Spacer, #4 x 1/8" Length
Instructions:
- Place a small piece of tape under the bottom side of the top plate, underneath the FRONT marking (unless yours is already marked).
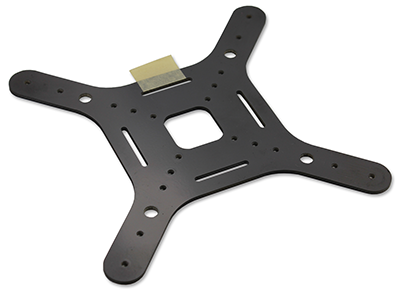
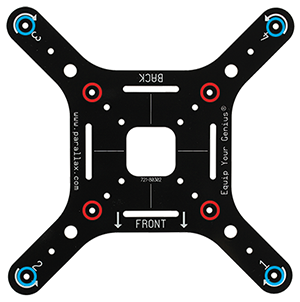
- Holding the top chassis plate upright with the front toward you, place 1 3/8” screws through the holes indicated by red circles, and 1 5/8” (or 1 3/4") screws through the holes indicated by blue circles.
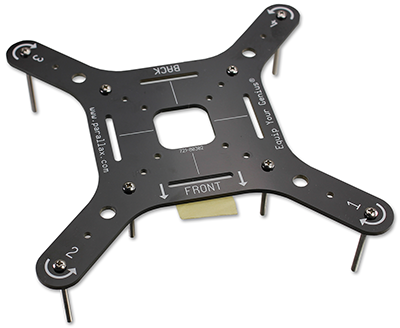
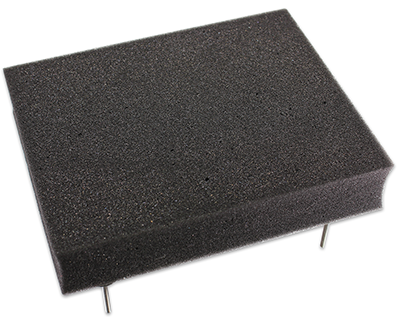
- Place the book or box (shown here as foam) over the plate and hold them together as you flip them over, so that the top plate is upside-down and the front is now aimed away from you.
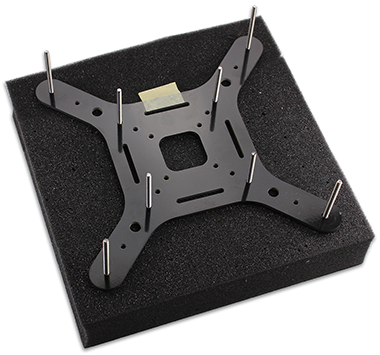
- Slide a nylon spacer over each screw followed by a saddle washer.
