To make the Badge WX visible to BlocklyProp, you will need the WiFi Access Point's login and password. You will enter this information right on the Badge WX, using the startup menu that automatically appears on its display, and the rocker buttons on the top edge of the board.
- Power on the Badge WX by pressing and releasing the On/Off button once. It's the pushbutton on the front that sticks up through the hole in the acrylic cover.
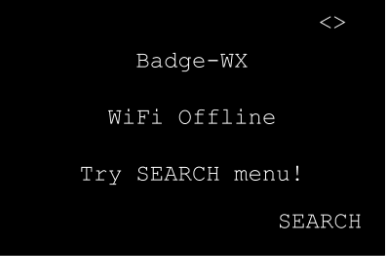
- Wait for the "Hello" messages and the "Badge-WX WiFi Offline" message to appear on the display.

- Select the SEARCH option (press/release the right navigation button). The Badge WX will search for all available access points.
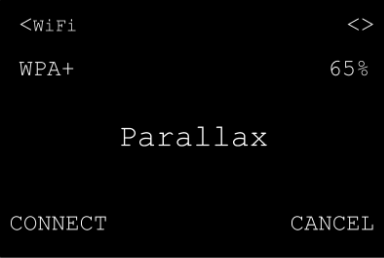
- Scroll with the left navigation rocker button to find the desired access point.

- Select the CONNECT option (press/release the left navigation button).
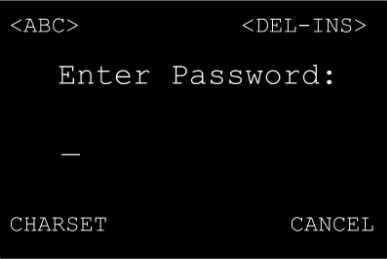
- If necessary, enter the passphrase using the left and right navigation rockers, then select OK (press/release the right navigation button) to make it connect.

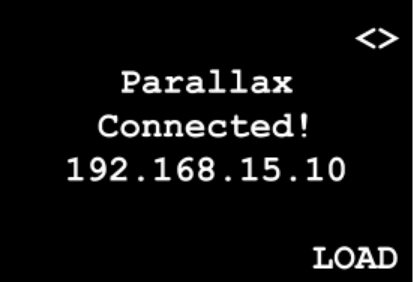
A few seconds later, if it successfully associated, the Badge WX will report "Connected!" along with the Wi-Fi Access Point name and the IP address it received.

The On/Off Button has many uses! You can read about them all in the Badge WX Product Guide. If you find your Badge WX is in a strange, unknown state and you want to start over, just press the On/Off button again; you should see two slow blinks and then it will turn off. If the PWR LED is already blinking, wait for it to stop before trying to turn it off. Button presses are not recognized while the PWR LED is lit (on).
