Gripper Test Project
Hardware Setup
- Set the cyber:bot board’s power (PWR) switch to Position 0.
- Make sure the battery holder is loaded with 5 AA batteries.
- Make sure the battery holder’s barrel plug is firmly plugged into the cyber:bot board’s barrel jack.
- Connect your micro:bit module to your computer with a USB cable.
Software Setup
- In a browser, go to makecode.microbit.org to open the micro:bit Makecode Editor.
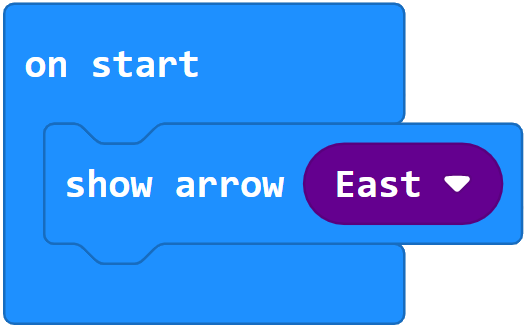
- Copy the following blocks into a new project named test_gripper_angles_buttons.
Project: test_gripper_angles_buttons
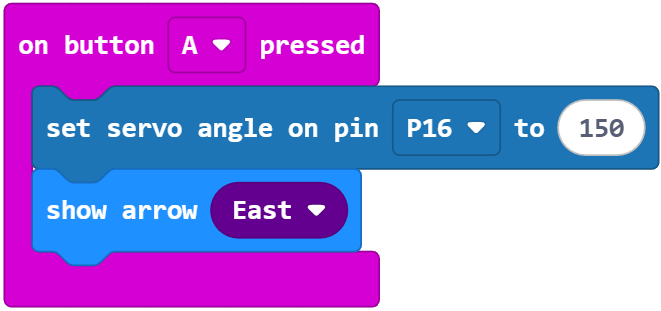
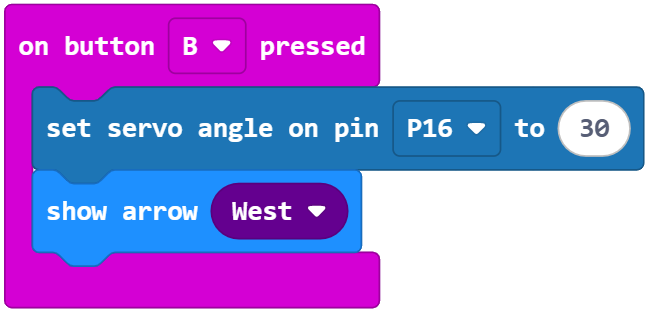
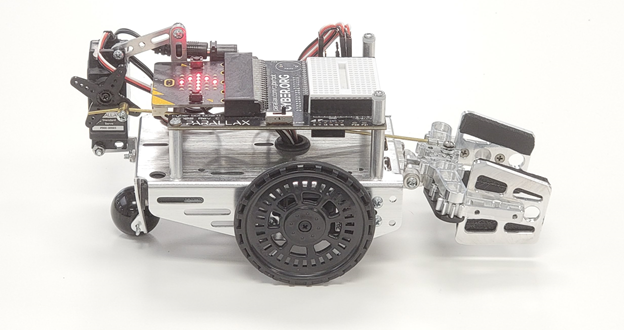
The project will turn the Gripper’s standard servo to its 30° position. This will make the Gripper close and lift its paddles. Then it will turn the standard servo to its 150° position to make the Gripper paddles lower and open. If your Gripper does not properly complete both motions, the troubleshooting section on the next page has a project you can run while making mechanical adjustments.
- Make sure that you have completed the Hardware Setup and Software Setup tasks.
- Click Download.
(See Flash Projects with MakeCode Editor.)
Tests
The main purpose of these tests is to verify that the project makes the Gripper complete both the close/lift and lower/open motions. If it doesn’t do both correctly, try the Troubleshooting section on the next page.
- Set the PWR switch to 2.
- Press/release the micro:bit module’s B button and verify that the Gripper closes and lifts its paddles.
- Press/release the micro:bit module’s A button and verify that the Gripper lowers and opens its paddles.
- If the Gripper does not complete both the close-lift and the lower-open maneuvers, check the Troubleshooting section on the next page.
- When you are done, set the cyber:bot board’s PWR switch to 0. To extend battery life, make sure to do this whenever the cyber:bot with Gripper is not in use.