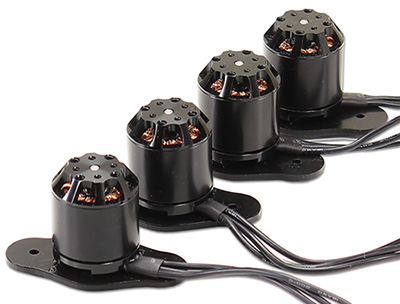
Step 2: Attach Motors to Motor Mounts
Before the motors can be attached to the Booms, they need to be connected to the Motor Mounts, which are one of the sacrifical parts of the ELEV-8 v3.
Sacrificial parts are intentionally engineered to fail under excess mechanical stess. They are engineered to fail first, thus protecting other parts of the system, just as an elecrrical fuse protects an elecrical circuit. In this case, the motor mount is engineered to to break before the motor is damaged in most (but not all) crashes, since it is less expensive and easier to replace than the motor.
Tools Needed:
- #1 Philips Head Screwdriver
Parts Needed:
- 4 – KEDA 1000kV Outrunner Motor (#750-900010)
- 4 – ELEV-8 v3 Motor Mount (#721-80304)
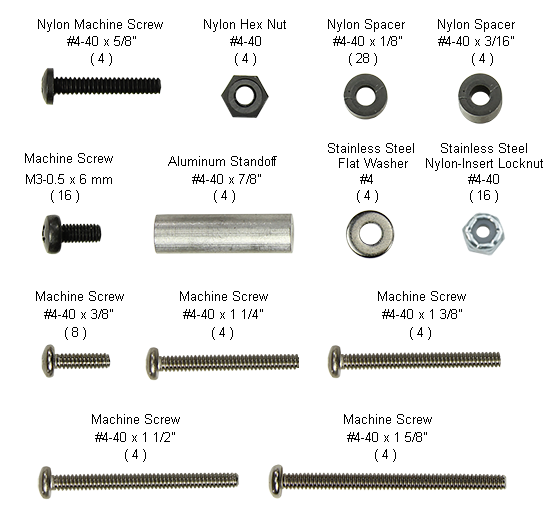
- 16 – Machine Screw, M3-0.5 x 6mm
Tip! For your reference, wherever hardware is included in a Parts list, just click on the item link to open this image in a new window.
Instructions:
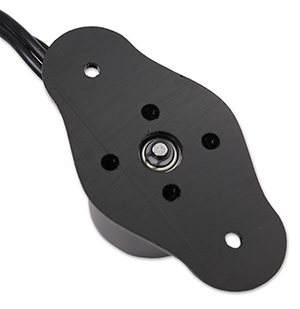
- Hold the motor upside-down (the wires come out the bottom of the motor), and place a mount plate over it so that the holes in the mount line up with those in the motor, and the motor wires come out of the end of the mount. You may need to flip or rotate your mount around (so it may not match the shown image).
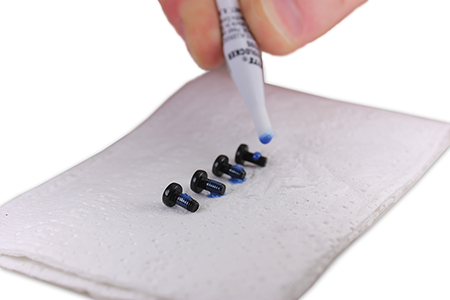
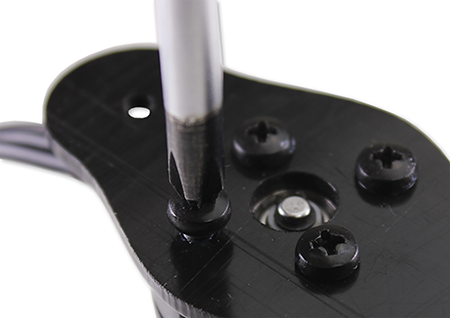
- Lay the four motor screws out on a paper towel or other disposable work surface. Place a drop of Loctite® on the threads of each screw.
- One at a time, insert four screws into the inner-most holes on the motor mount bottom, making sure to line up with the threaded holes in the bottom of the motor. Tighten with the screwdriver.
- Repeat this process for the three remaining motors.