On power-up the code initializes the servo I/O pin, then checks to see if the door is only partially opened or closed by observing that both limit switches are low (0). If this is the case, the Door_Close subroutine is called. Typically the code runs in a loop where you can be doing other things until either the Open or Close button is pressed.
Once a button is pressed the code jumps to that subroutine where it sits in a loop checking to see if the door is in the destination position. If it is, the loop exits, the LED is set to the correct color and the subroutine returns to the main loop. Within the loop the limit switch is checked and then the servo is refreshed, followed by the 20 ms delay required by the servo. This continues until the limit switch goes high (1) causing the code to exit the loop.
The code for this demo was intentionally kept as simple as possible for easy integration into an existing application or to be used as part of a more complex program.
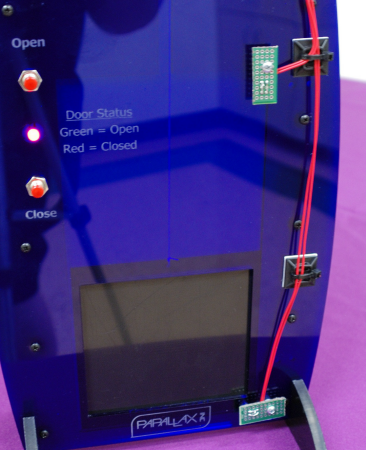
The limit switches work as an IR beam-break system with the IR LED always powered and shining onto the phototransistor. When the door reaches either end position it interrupts the beam causing the phototransistor to no longer be biased. When this happens the 10K pull-up resistor causes the line to go high. When the IR light is shining on the phototransistor it causes the line to be pulled low. The push buttons are also active low in that pressing them causes the I/O pin to be shorted to ground. When the switch is open the I/O line is pulled to 5V via a 10K pull-up resistor.
While the IR LEDs are always on (typical of a beam-break system) you could save a little power by having the IR LEDs only power on during door motion. This would require the use of two additional I/O pins, however.
Stay tuned for Part 2!
Try This
- Make the door toggle open/closed with a single push button.
- Make the LED flash during open/close cycles.