Test It
Download the source code:
For testing purposes I just wrote a DEBUG line that displayed the binary representation of the input signals from the switches and phototransistors. BASICally I just used the following line of code:
DEBUG HOME, BIN Open, BIN Close, BIN Opened, BIN Closed
With this line running in a loop you should see four 1's and/or 0's on your DEBUG terminal. The first two should be 1's unless a button is pressed, then the corresponding bit should become a 0. On the phototransistors you should see a 0 unless the door is interrupting the beam, which is your indication that the IR sensor has detected object blocking the beam. If you're not seeing a 1, but there is no object to interrupt the beam, you can verify your IR LEDs work by simply looking at the sensor with a camera. Your eyes may not be able to see IR light, but the camera in your smart phone, digital camera or camcorder can see it.
If the LED colors are backward you can either reverse the LED, or if it's soldered in you can change (reverse) the pin constants. Additionally, remember that on the Board of Education the switch must be in position 2 for the servo to get power.
Run It
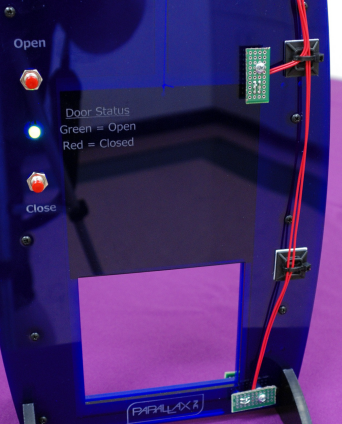
On power-up the door will either be open or closed. If it is in between the program will close it automatically. At this point, pushing the Open button opens the door and sets the status LED light to green.

Pressing the Close button closes the door and sets the status LED light to red. If the door is already in the opened or closed position the corresponding button will have no effect. Also, if the door is already being opened/closed you cannot reverse the direction of the door until it reaches the limit switch. This effect can be altered in the code, if desired.
Note that on power-up, the LED status is off until a button is pressed and the door reaches that position limit.
