Installing the XBee Module on the Flight Controller
Once you have have configured both XBee modules, you are ready to install one of them on your ELEV-8 Flight Controller.
- Remove the top cover and foam block from your ELEV-8 v3, exposing the Flight Controller board.
- Insert an XBee module into the socket on the Flight Controller.
- Remove the nut and washer from the RPSMA connector.
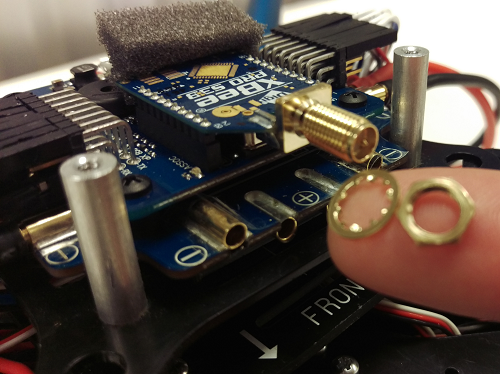
- Replace the foam block and top cover - make sure the foam block is covering the two small chips in the center of the Flight Controller circuit board
Options for Attaching the Antenna
You have two options for attaching the antenna: 1) attaching the antenna directly to the XBee module (see warning below!) or 2) use an RPSMA extension cable between the XBee module an antenna for strain relief.
Option 1 - Attaching the antenna directly to the XBee module
Caution - a crash (even a minor one) could damage or destroy the XBee if the antenna is installed directly onto the XBee module - follow Option 1 at your own risk
- Carefully screw the antenna onto the XBee's RPSMA connector.
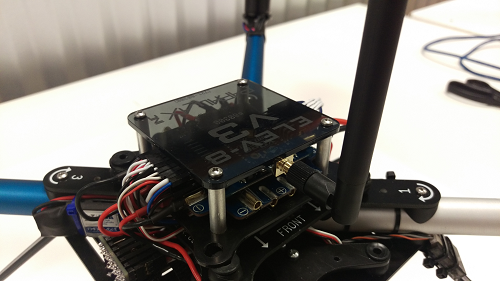
Option 2 - Connect the antenna using an RPSMA extention cable
- Connect the extension cable to the XBee module's RPSMA connector.
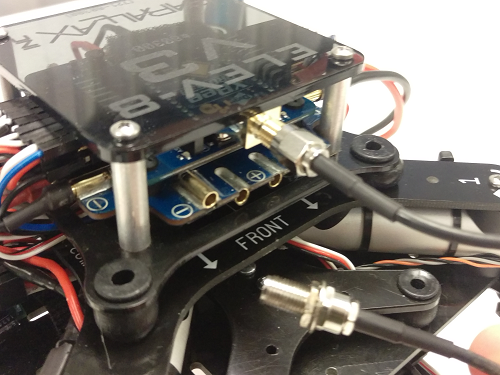
- Carefully route the cable under the ELEV-8 v3's isolation stack and out one side of the ELEV-8 v3.
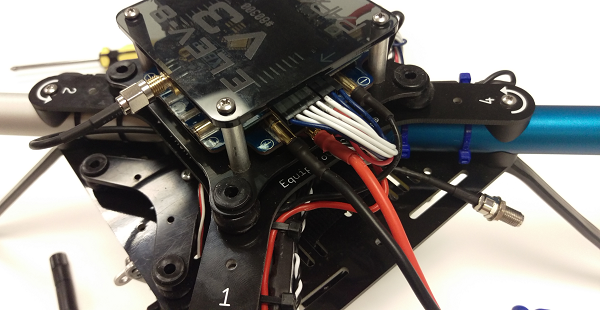
- Attach the antenna to the RPSMA extention cable.
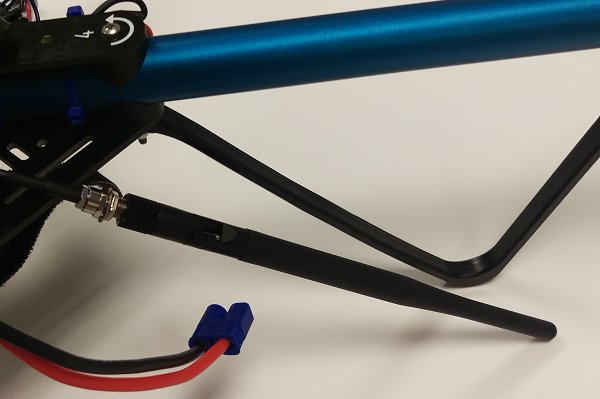
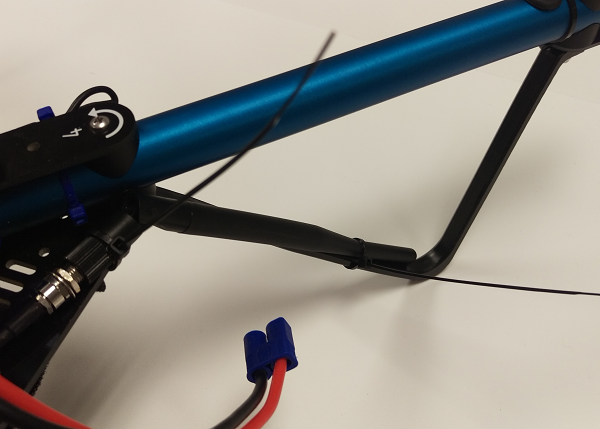
- Zip-tie the antenna to one of the landing gear legs and/or bottom plate and clip the excess from the zip-ties.
Note: If you have previously gone to the trouble of balancing your quadcopter's frame, you may want to re-balance it after these hardware additions have been made.
