Read a 4×4 Matrix Keypad
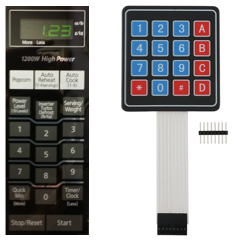
A matrix keypad is the kind of keypad you see on microwave ovens, gas pumps, and calculators. A matrix keypad … Read more
A matrix keypad is the kind of keypad you see on microwave ovens, gas pumps, and calculators. A matrix keypad … Read more
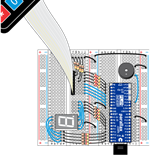 The FLiP Try-it Kit comes with an exciting array of sensors and components that you can build into creative projects. Try this activity involving the 4×4 Matrix Keypad, 7-Segment LED, and piezospeaker and get visible and audible feedback to your Keypad key presses.
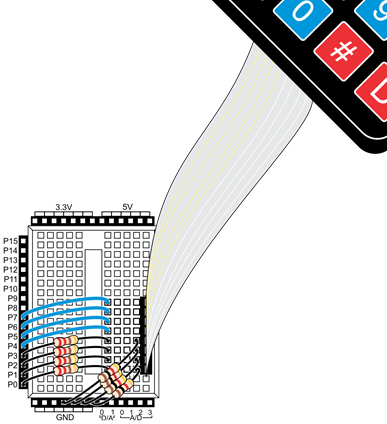
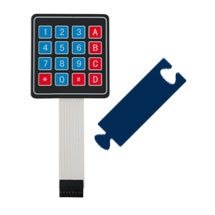
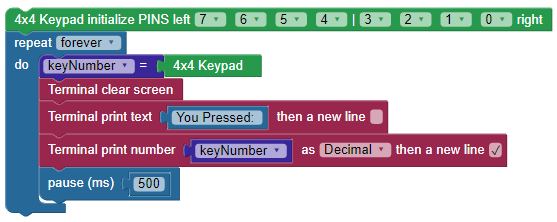
This example is specifically for the 4 x 4 Matrix Membrane Keypad (#27899) sold by Parallax. Wiring & Connections … Read more
BlocklyProp reference for KEYPAD blocks For Propeller Activity Board WX, FLiP and Other board types. Not available for Badge or … Read more

The carnival game megaproject is a series of miniature cardboard “houses”, arranged in a neighborhood, that are meant to be … Read more
The best way to program this project is in three pieces: Test the 4×4 matrix keypad alone using the example … Read more