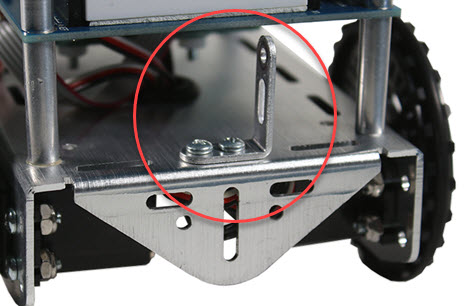
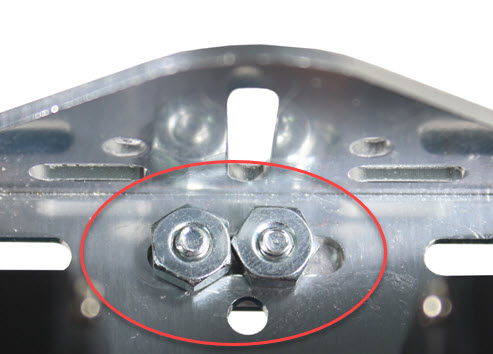
- Connect an 'L' bracket into the front of the ActivityBot 360° chassis, using two 1/4" screws and two nuts, as shown. Note that it is slightly off center. This will allow the Pixy2 camera to be centered, after accounting for the thickness of the 'L' brackets.
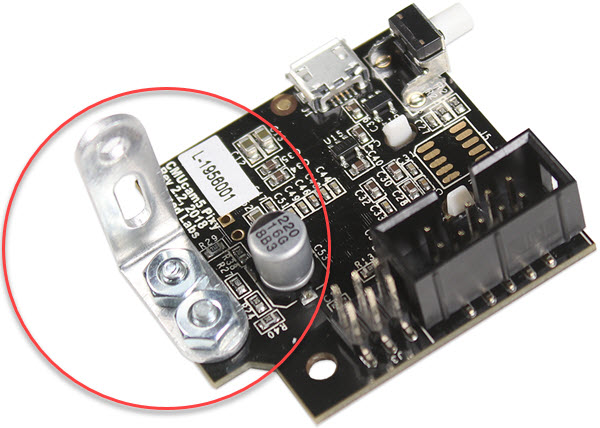
- Connect an 'L' bracket to the Pixy2 board, using the two 14" screws included in the camera box, and two nuts.
- Connect the two 'L' brackets together, using the longer 3/8" screw and Nylon-core locknut.
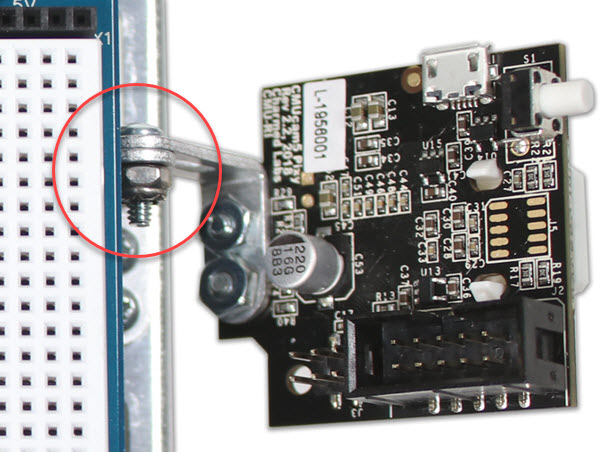
You will be able to adjust the tilt of the Pixy2 camera up or down, depending on the needs of the application. If the camera tilts down on its own, just tighten the screw and locknut connecting the 'L' brackets together.