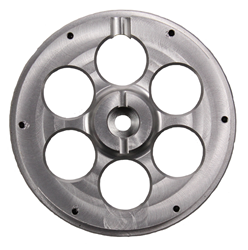
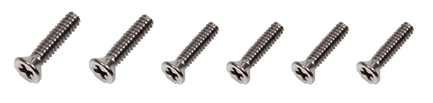
Each of the two aluminum wheel assemblies is comprised of: (1) precision machined two-piece split-rim set, (1) inner-tube, (1) rubber tire, and (6) flat-head 4-40 x ½” screws.
- Begin by inflating the inner tubes with a hand operated air pump – DO NOT USE A COMPRESSOR! Add just enough air to make them round, but not under any pressure.
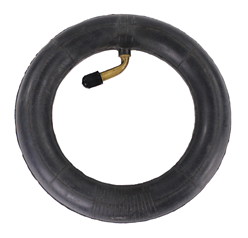
- Insert the tube(s) into the tires. This will help keep the tube and tread in alignment as you’re “sandwiching” the split rim wheel system together (above).
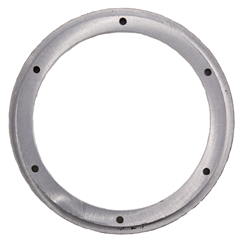
Each rim set consists of: (1) main rim, (1) rim ring, and (6) flathead #4-40 x ½” long machine screws.
WARNING! Never, ever put your fingers through the holes in the rims once the wheels are assembled. It may be tempting to carry an assembled Arlo by the wheel, but this poses a grave hazard to your fingers should the motors accidentally move the wheels.
- Place the main rim over the tube’s valve stem, being sure to line up the rim’s stem notch as shown below. Push it down tight so that the rim is well seated into the rubber tire.
You can choose whether to have the valve stem easily accessible from the outside of the robot (not shown), which makes it slightly easier to fill the tires if they ever need it. However, we recommend the “cleaner looking” appearance of having the stem “tucked” behind the rim, as shown here.
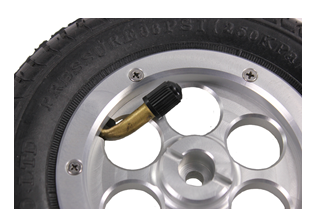
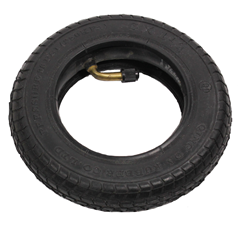
If you ever need to add air (very rare, if ever), you can simply remove the single bolt that holds the tire onto the motor drive axle to access the valve stem. The rim set uses #4-40 x ½” long flat head machine screws which screw directly into tapped holes from the “inside” of the aluminum main rim section. This provides for a very clean look when mounted on the Arlo Base.
- Insert a screw into each of the holes in the inner rim. Then, place the inner rim on the tire as shown, aligning the screws with the holes in the main rim.
The rims are precision-machined to hold the tires securely. You may have to push firmly to get the rim to fully seat itself into the hub of the rubber tire. Repeat this step for the other drive wheel.
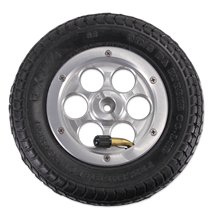
Unless your Arlo is going to be carrying very heavy loads, there is no need to inflate the tires to their full rated capacity. Even though the tire sidewall indicates “35PSI”, we recommend no more than 10 to 15 psi for optimum traction, load carrying capacity, and shock absorption. We HIGHLY ADVISE using a bicycle hand pump (instead of a powered air compressor) to inflate the tires since the tube capacity is so small. It is very easy (and dangerous!) to over-inflate the tire using a powered air compressor.
Secure the Rims: Rim assembly best practice is to get all of the screws started into their respective threaded holes without fully securing any of them. Then, tighten each one slightly and continue this around the circle progressively tightening each screw, which will bring the two rim sections together evenly. Also, be sure to not pinch or bind the inner-tube while bringing the assembly together.