With the power connector added, you can now mount the gimbal to your ELEV-8 v3. The following drawings shows how the gimbal will mount into the chassis.
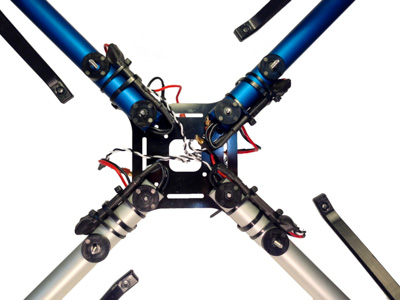
- Disconnect all wires from the Isolation Assembly and then remove it, leaving the vibration dampers connected to the top chassis plate.
- Zip-tie (or securely tape) each boom to the top chassis plate - this will help hold the top half of the chassis assembly together.
- Using the screwdriver and wrench, carefully remove the eight locknuts from the underside of bottom chassis plate. It will be much easier to re-assemble if you do not remove the screws. It may help to place tape over the screw heads to keep them from falling out.
- With the ELEV-8 upside-down, slide off the landing gear and bottom chassis plate. Try to keep the saddle washers and spacers in place to make re-assembly faster.
- Move the ESC for motor 2 to the side of the #2 boom closest to boom #3.
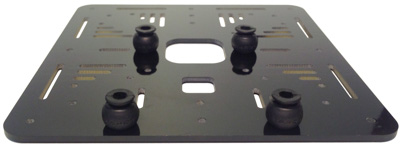
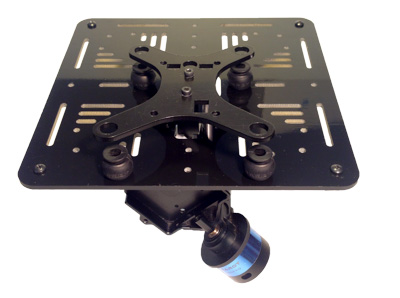
- Insert the four vibration dampers included with the gimbal into the four holes on the bottom chassis plate as shown.
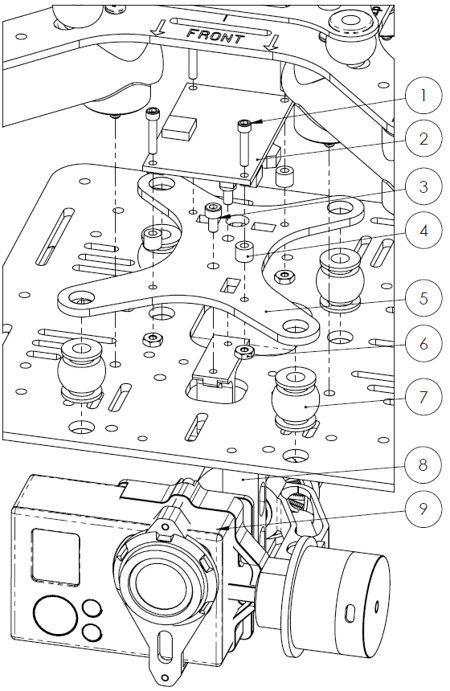
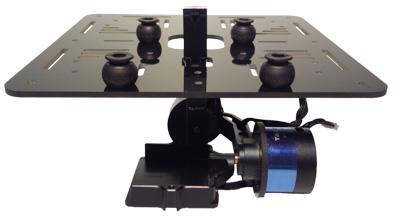
- Take the Tarot T-2D Gimbal and feed it's roll support arm up through the small rounded rectangular hole in the chassis plate.
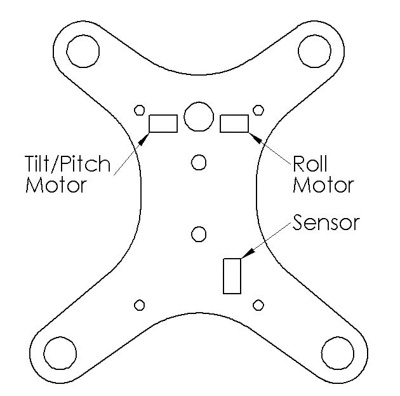
- Use a 2.0mm or 5/64" Hex (Allen) Key and two M2.5x5 cap head machine screws supplied with the gimbal to fasten the gimbal adapter plate to the gimbal. Make sure the orientation of the mounting plate matches the drawing/picture. We suggest you use a drop of Threadlocker for each screw.
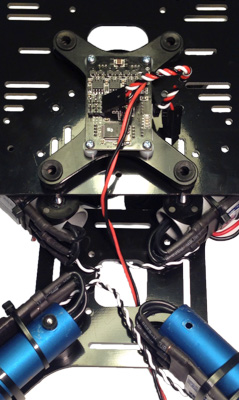
- Feed the wires for the sensor and the tilt and roll motors through the bottom chassis plate and then through the cutouts in the gimbal adapter plate according to the diagram below.
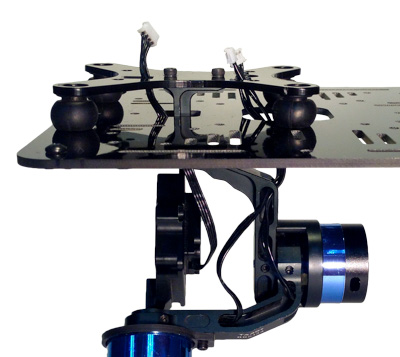
- Connect all three wires to their corresponding sockets on the gimbal control board. See John C. Lin's Assembly Manual v1.1 (3rd Party) for a connection diagram.

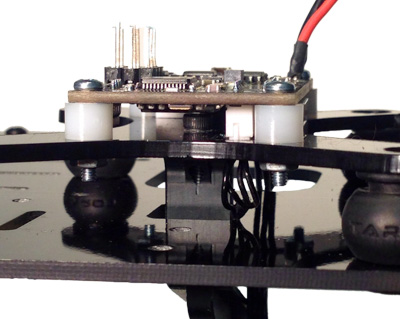
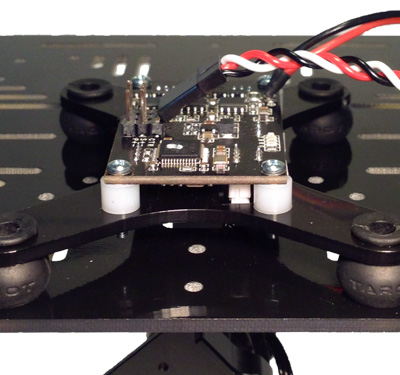
- Bolt the gimbal control board to the gimbal adapter plate using the 7/16” Machine Screws , 5/32” Spacer , and #2-56 Hex Nut as shown in the drawing above and picture below.
- Now feed the other end of the vibration dampers through the gimbal mounting plate to attach it to the bottom chassis plate.
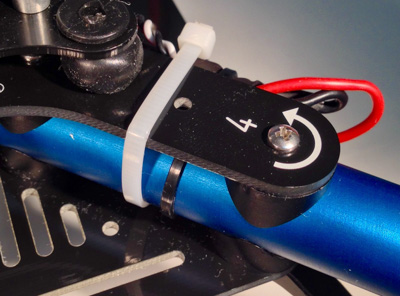
- If you plan to remote control your gimbal, plug the 1 to 3 cable adapter included with the gimbal into the the Receiver and Camera Control Connector port on the gimbal controller, labeled "CTR" for center, tilt, and roll. Then gently and slowly bend the connector at least 60 degrees to the side. This will allow it to fit under the top chassis plate.
- Feed the power cable up through the hole in the center of the top chassis plate to its top side.
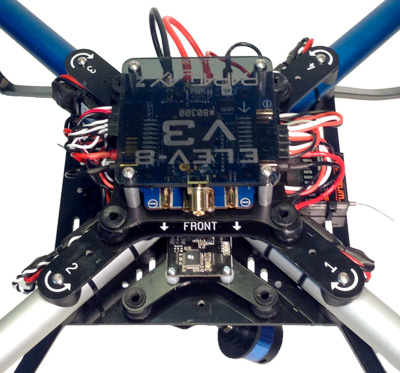
- With your ELEV-8 v3 upside-down, slide the bottom chassis plate back over the bolts (make sure all saddle washers and spacers are in place). Line up the gimbal with the front of your ELEV-8. Slide the landing gear and nuts back on and tighten, just as done when initially assembling your ELEV-8 v3.
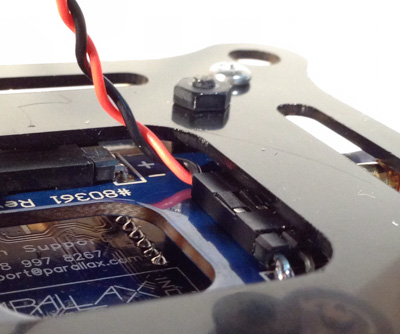
- Connect the gimbal power cable to the Power Distribution Board.
- Attach the Isolation Assembly and make all electrical connections, just as done when initially assembling your ELEV-8 v3. This is also a good time to mount your RC receiver if not already done.
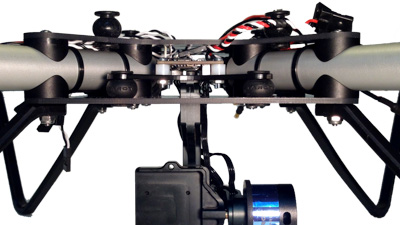
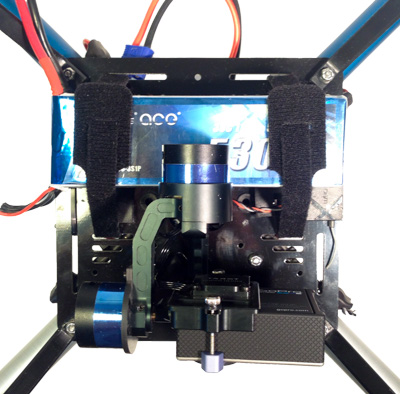
- Mount your action camera to the gimbal using the hardware supplied with your gimbal, then re-position the battery and straps to balance your ELEV-8.
Congratulations! With your gimbal mounted, all that's left is configuring the firmware and then you'll be ready to fly!