Now you have BlocklyProp Solo open in Chrome and the Launcher and drivers installed. It's time to connect your hardware and run your first project.
Connect your Hardware
- Connect your Propeller board to your computer's USB port with its programming cable. Below are the Propeller FLiP module on a breadboard (left) and Propeller Activity Board WX (right).
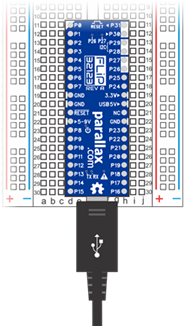
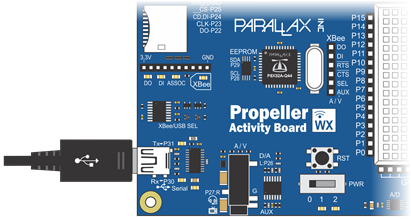
- Connect the other end of the USB cable to your computer's USB port. Both the Propeller Activity Board and the Propeller FLiP module are powered through the USB connection.
- If you are using an Activity Board, you will also need to move the power switch to position 1:
Create a Project
BlocklyProp programs are also called "projects." In the Edit pane, you build a project by making selections from the gray block menu to the right of the Edit pane.
- Click Communicate, then Terminal.
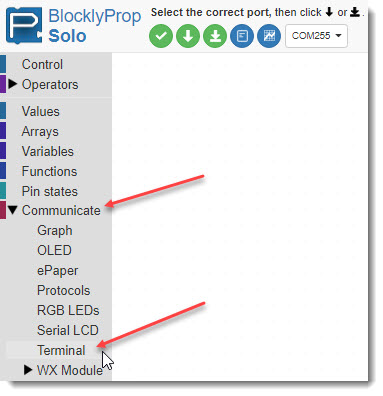
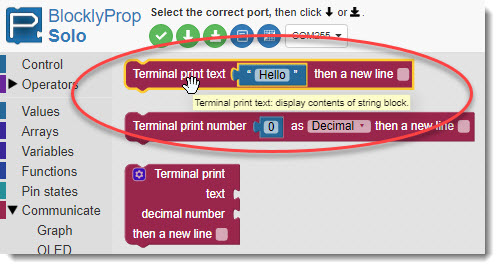
- A palette of Terminal blocks will appear. Notice that if you hover over a block, a yellow flyover message will give you hints about its use.
- Click on the Terminal print text block to place it in the Editor pane.
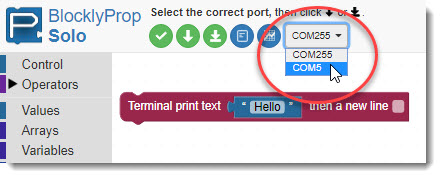
- From the port dropdown menu, select the COM port connected to your Propeller board.
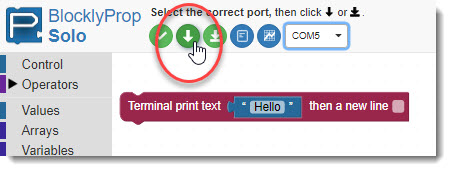
- Click the arrow button to run the project once. (It won't be saved to the memory on your Propeller board.)
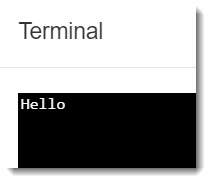
A terminal should open up, showing the "Hello!" messsage.
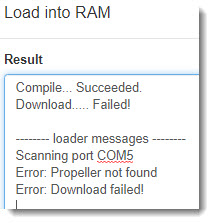
- If you instead get an error message like the one below:
- Check to make sure your USB cable is connect to both the board and the computer.
- If you are using the Propeller Activity Board WX, make sure its Power switch is in position 1 or 2.
- Check the port number in the error message. Then, check the port options in the BlocklyProp dropdown. If there is another port listed there, try it instead.
- Back in the Edit pane, click inside the Terminal print text block and change the Hello message to something else.
- Also check the new line box at the end of the block.

- Click the Load RAM arrow button again to see your new message displayed.
