Parts Needed
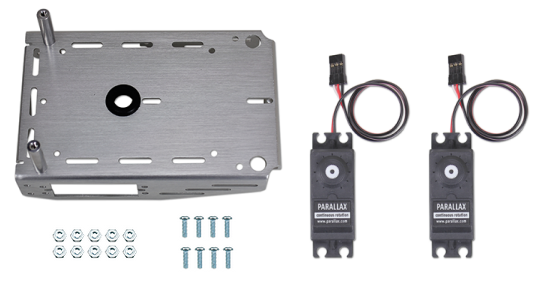
Robot chassis, partially assembled.
(2) Parallax continuous rotation servos
(8) pan-head screws, 3/8″ #4-40
(8) Nylon core locknuts - OR - regular steel hex nuts

Tools Needed
Parallax screwdriver
Parallax wrench
masking tape (optional)
pen (optional)
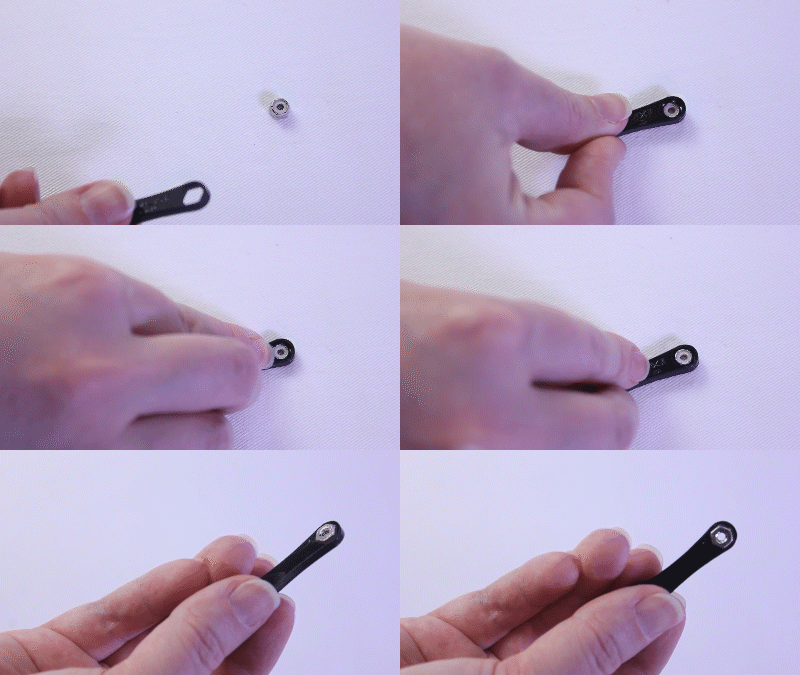
- Choose either regular steel hex nuts or Nylon locknuts. Locknuts work best, because they don't loosen easily with vibration. But, they take a little more force to install.
- If you are using regular nuts, use the open end of the wrench.
- If you are using locknuts, press the closed end of the wrench over the nut to hold it securely while working.

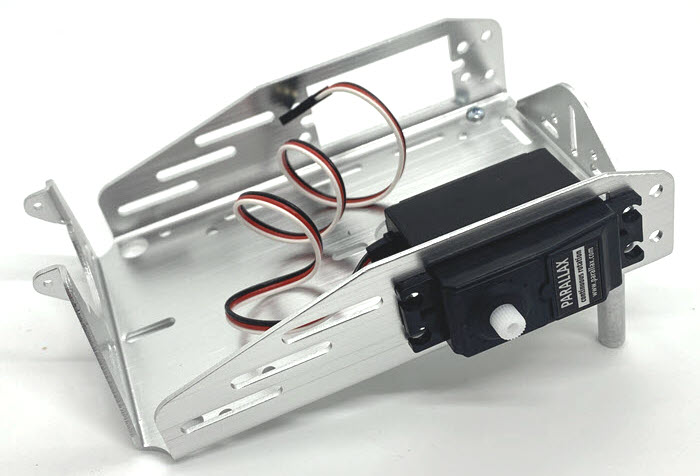
- Insert the left servo into the chasis, so that its cable and the small hole in the case point towards the middle of the chassis.
- Attach the servo using 3/'8" pan-head screws, threaded from the outside of the chassis and secured with the nuts of your choice from the inside of the chassis.

- If you like, use a piece of masking tape to label the left servo. This makes things easier when plugging them into the board later!
- Repeat the process to install the right servo.
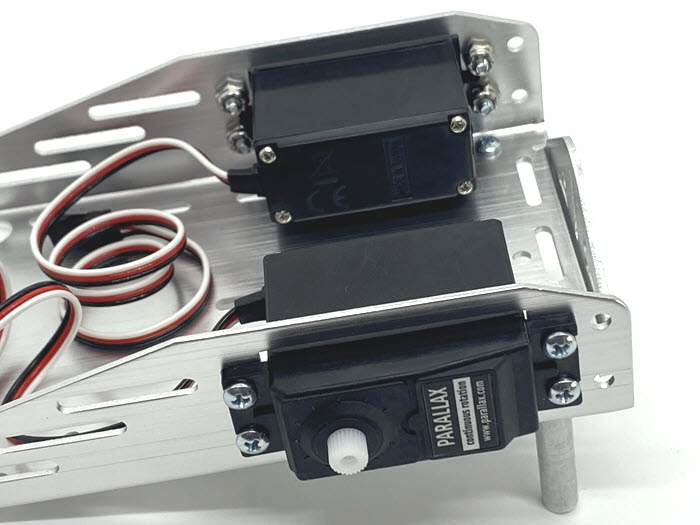
With both servos mounted, your chassis will look like this:

Note: You may mount the servos the other ways instead.
Mounting the servos with the servo shaft closer to the front of the robot is also possible. This design may cause some turning difficulty on “sticky” floor surfaces unless the front of the robot has increased weight. The benefit of mounting the servos this way is that the potentiometer hole in the servo case is more accessible (from the front of the robot). If the servos need to be re-centered, you would not need to remove them from the chassis.
You may also mount the servos with the tabs on the inside of the chassis for a narrower wheel base. This allows for the tightest turns pivoting on one wheel. But, it is easier to remove and replace the servos when they are mounted from the outside.
Throughout this tutorial you may see cyber:bot examples with different servo mounting positions.
