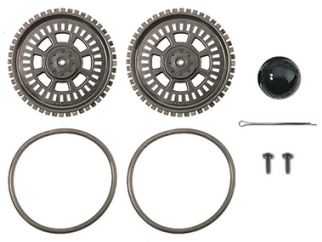
Parts needed:
(1) Cotter pin
(1) tail wheel ball
(2) wheels
(2) O-ring tires
(2) screws saved when removing the servo horns
needle-nose pliers - optional, not included
CAUTION - the ends of the cotter pin may be sharp! If you have needle-nose pliers, you can bend the cotter pin ends into a circle to tuck away the points. But be aware that this makes the cotter pin more difficult to remove in the future if you ever want to do that.
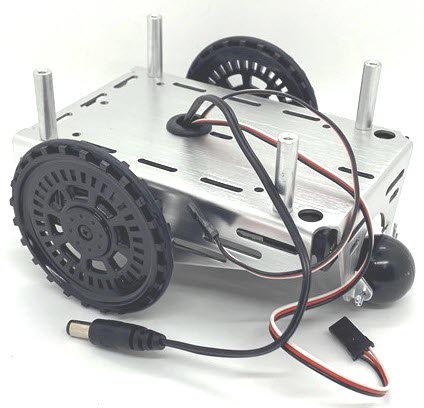
The robot’s tail wheel is merely a plastic ball with a hole through the center. A cotter pin holds it to the chassis and functions as an axle for the wheel.
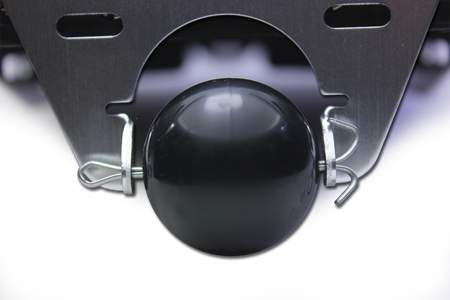
- Hold the tail wheel ball in the arch in the back of the chassis, lining up the holes in the wheels with the chassis tabs’ holes.
- Slide the cotter pin through a chassis mounting tab hole, through the tail wheel ball, and then through the other tab.
- Bend the ends of the cotter pins outwards to secure it in place.
- Fit an O-ring tire over each of the wheels, settling the ring into the groove.
- Gently push the center of a wheel onto each servo shaft spline.
- Secure each wheel to its servo with a black servo screw (you saved these from an earlier step).