The next script tests the whiskers to make sure they are functioning properly, by using the micro:bit module’s LED matrix display. This gives a visual representation of the binary values (LED off = 1 and LED on = 0) returned by bot(7).read_digital() and bot(9).read_digital(). This way, you can press each whisker against its 3-pin header on the breadboard, and see if the Propeller I/O pin is sensing the electrical contact.
When neither whisker is pressed against its 3-pin header, you can expect your micro:bit module’s display to have no LEDs light up. If you press only the right whisker, the display should have one LED on the right side light up. If you press only the left whisker, one LED on the left side will light up. Finally, if you press both whiskers simultaneously, an LED on both sides will light up.
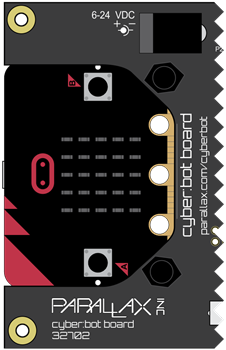
No Whiskers Touching: no lights on
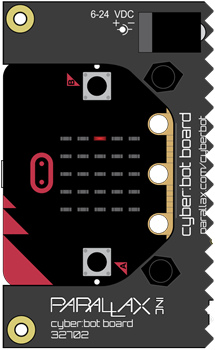
Left Whisker Touching: LED lights up on left side of the cyber:bot
Right Whisker Touching: LED lights up on right side of the cyber:bot

Both Whiskers Touching: LED lights up on both sides

Hardware Setup
- Set the cyber:bot board's power (PWR) switch to Position 0.
- Make sure the battery holder is loaded with 5 AA batteries.
- Make sure the battery holder's barrel plug is firmly plugged into the cyber:bot board's barrel jack.
- Connect your micro:bit module to your computer with a USB cable.
Software Setup
- In a Google Chrome or Microsoft Edge browser, go to python.microbit.org to open the micro:bit Python Editor.
- Make sure the cyberbot.py module is added to the Project Files.
(See Add modules to your micro:bit).
Example script: whiskers_detect_test
- Set the project's name to whiskers_detect_test, enter the script below, and then click Save.
(See Save & Edit Scripts and Flash Scripts with Python Editor.) - Click Send to micro:bit.
(See Flash Scripts with Python Editor.) - Set the cyber:bot board's PWR switch to 1.
# whiskers_detect_test

from cyberbot import *

while True:
    whisker_left = bot(7).read_digital()
    whisker_right = bot(9).read_digital()

    if whisker_left == 0:
        display.set_pixel(4, 2, 9) #left side LED on if left whisker is pressed
    else:
        display.set_pixel(4, 2, 0)
    if whisker_right == 0:
        display.set_pixel(0, 2, 9) #right side LED on if right whisker is pressed
    else:
        display.set_pixel(0, 2, 0)
- Look at the LEDs on the micro:bit module. With no whiskers pressed, all the LEDs should be off, indicating 3.3 V is applied to both digital inputs (7 and 9).
- Press the right whisker into its three-pin header, you should notice an LED on the right side of the micro:bit module’s display turn on.
- Release the right whisker and press the left whisker into its three-pin header, and an LED on the left side of the micro:bit module should be on.
- Press both whiskers against both three-pin headers, both of those LEDs should be on.
- If the whiskers passed all these tests, you’re ready to move on. If not, check your script and circuits for errors, and try the troubleshooting tips below.
Troubleshooting Tips
A lot of times, problems that occur when dealing with whiskers do not come from the script, but rather the physical connections of the whiskers. Try the following things to improve the physical connections of the whiskers.
- If the whiskers rotate freely around the posts, try to tighten the screw that is holding in the whisker.
- If the whisker is too far from the 3-pin header, rotate the whisker around the post so it’s closer to the 3-pin header.
- If the whisker is always touching the 3-pin header, rotate the whisker around the post so that it moves away from the 3-pin header.
- Be cautious as to not allow your resistor wires to come in contact with one another as this may mess up the whisker circuit.
These steps are important!
Seriously, you’ve got to make sure your circuit and code pass these tests before continuing. The rest of the examples in this chapter rely on the whiskers working correctly. If you haven’t tested and corrected any errors, the rest of the examples won’t work right.
If You Are Done
If you are done for the day, always follow these steps.
- Set PWR to 0.
- Unplug the battery holder's barrel plug from the cyber:bot board's barrel jack.
Just taking a break, but will do more today? Then follow these steps.
- Just set the cyber:bot board's PWR switch to 0 until it's time to test the next script.